| | EXTERIOR |
| |
|
 |
|
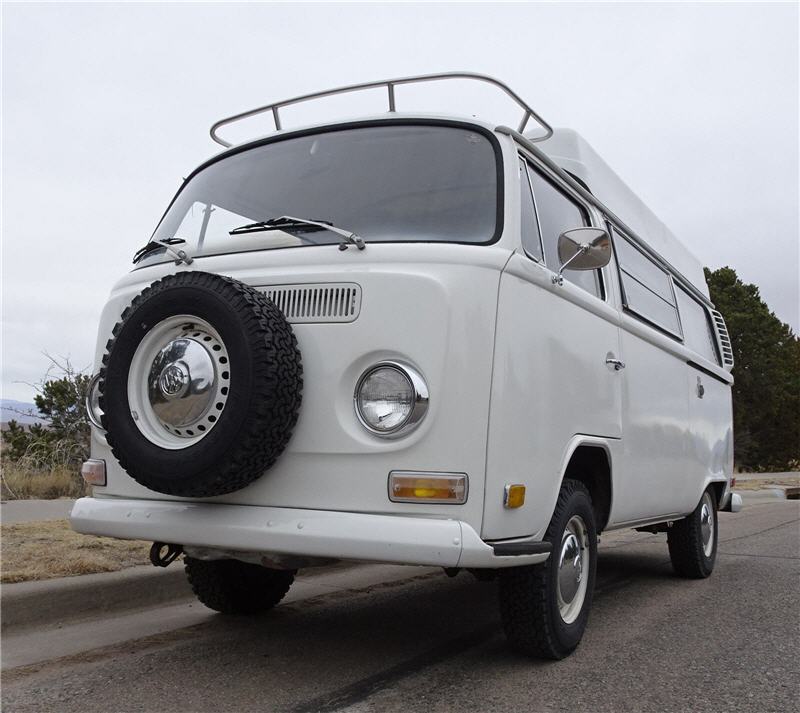
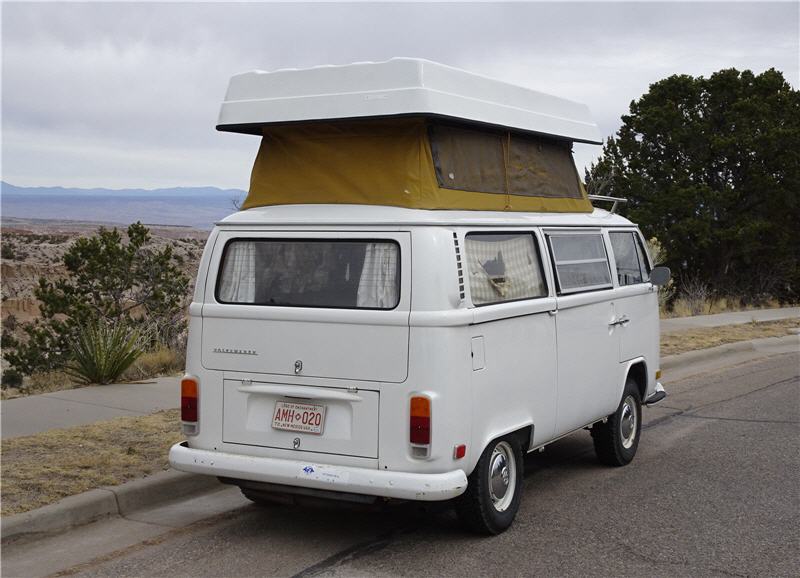
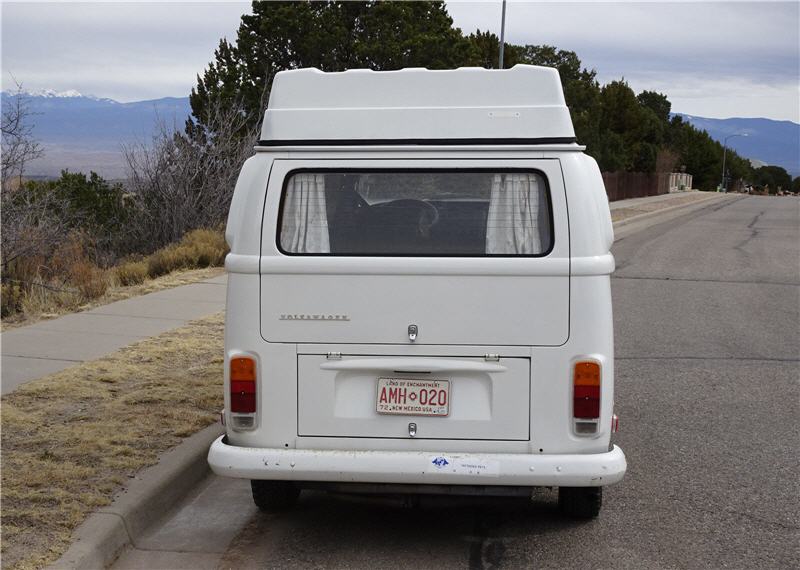
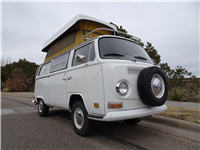
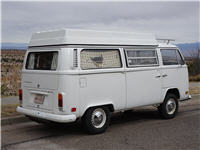
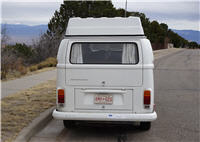
Front left view of Ann the Van on the street
|
| |
|


|
|
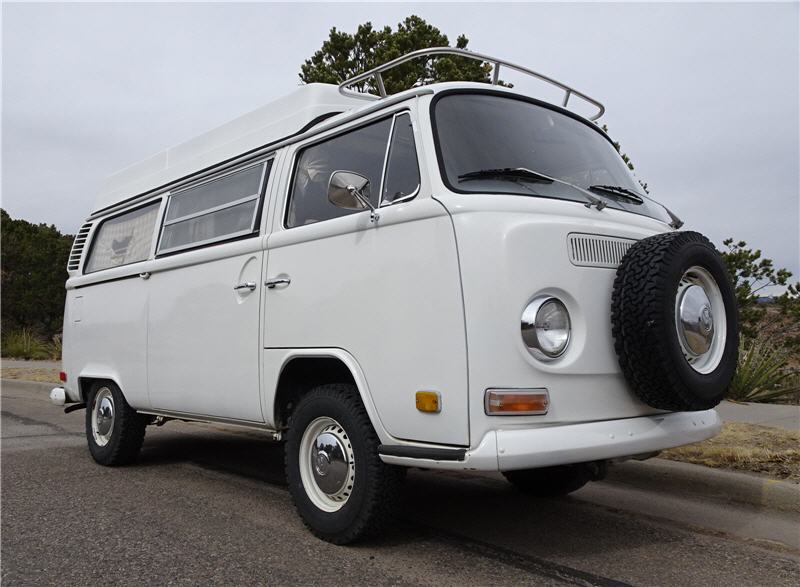
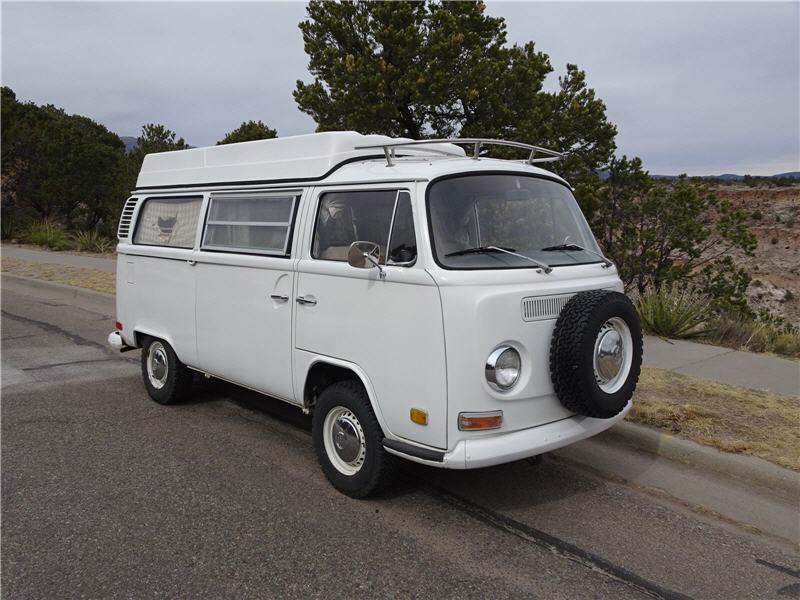
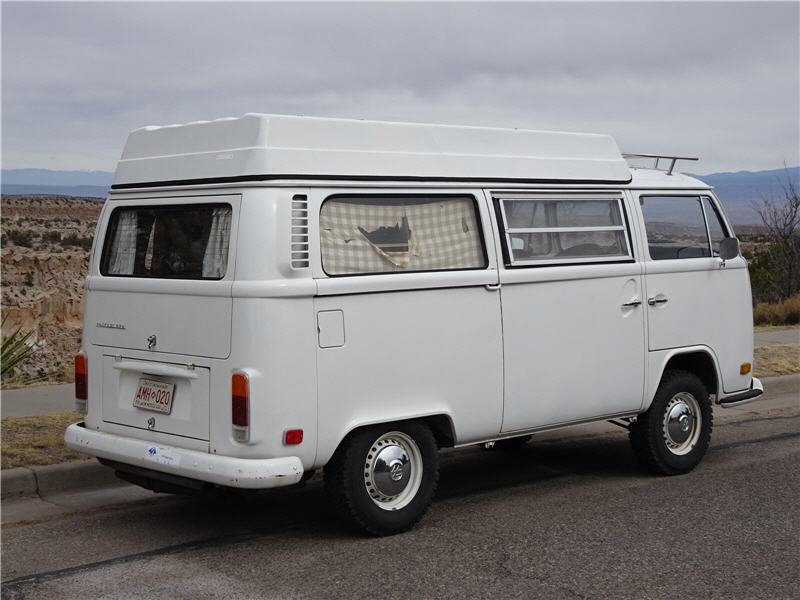
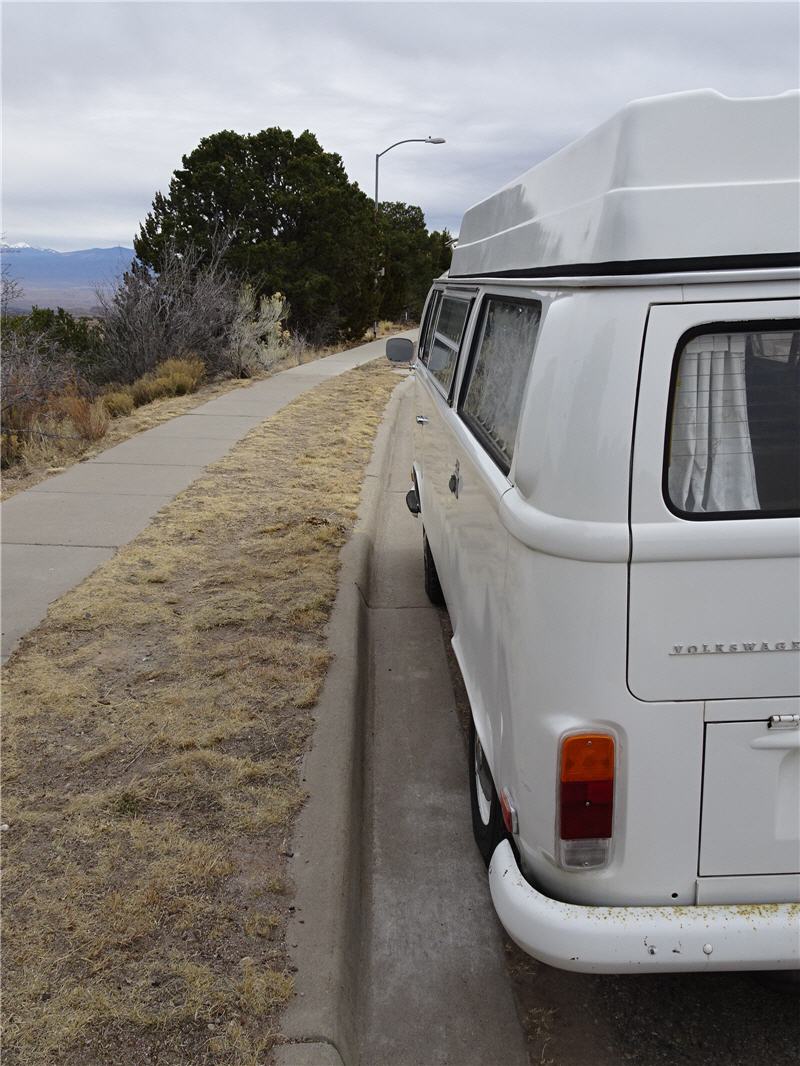
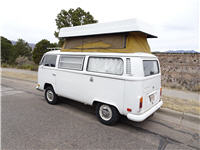
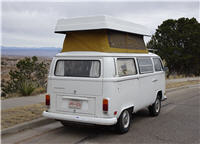
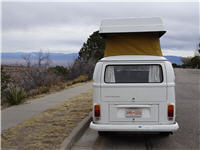
The walkaround.
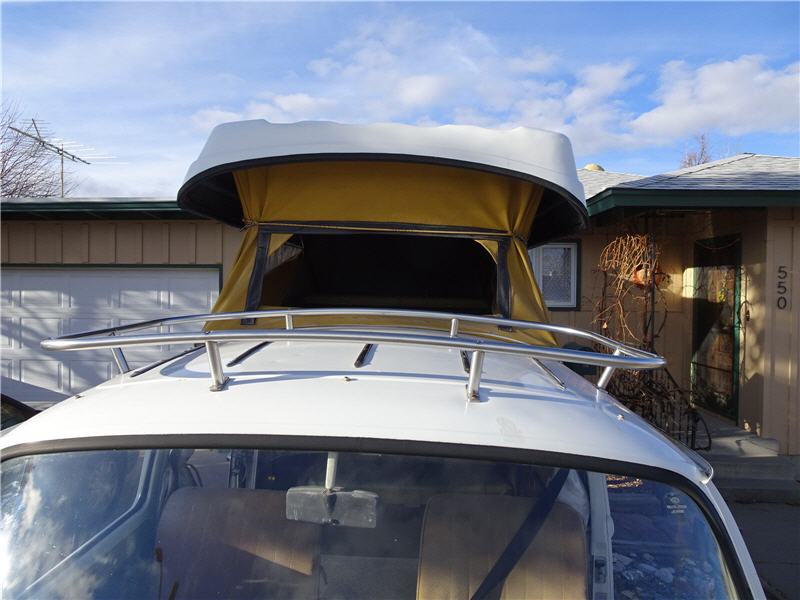
Top up.
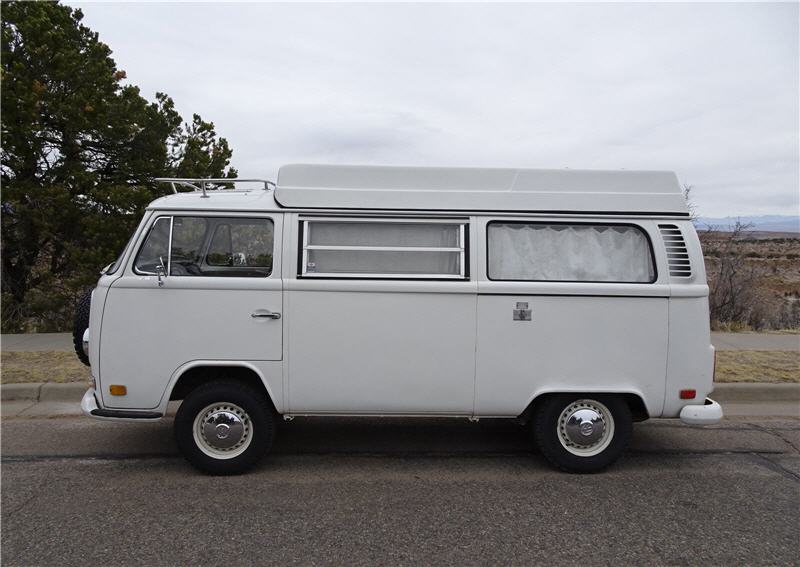
Top down.
Top up.
Top down.
|
| | INTERIOR |
| |
|
 |
|
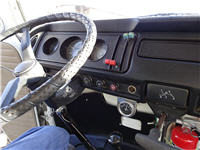
The dashboard is in great shape.
|
| |
|
 |
|
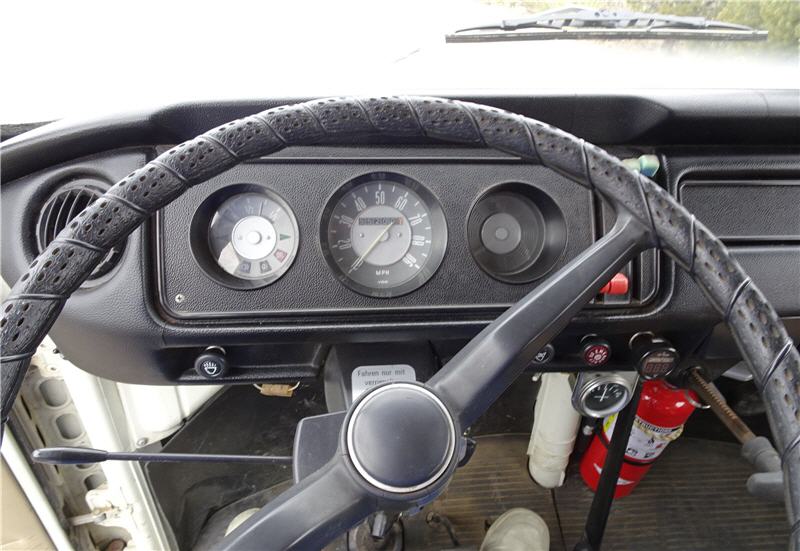
More of the dashboard. The original owner wanted no radio, so the radio
delete plate is in place.
|
| |
|
 |
|
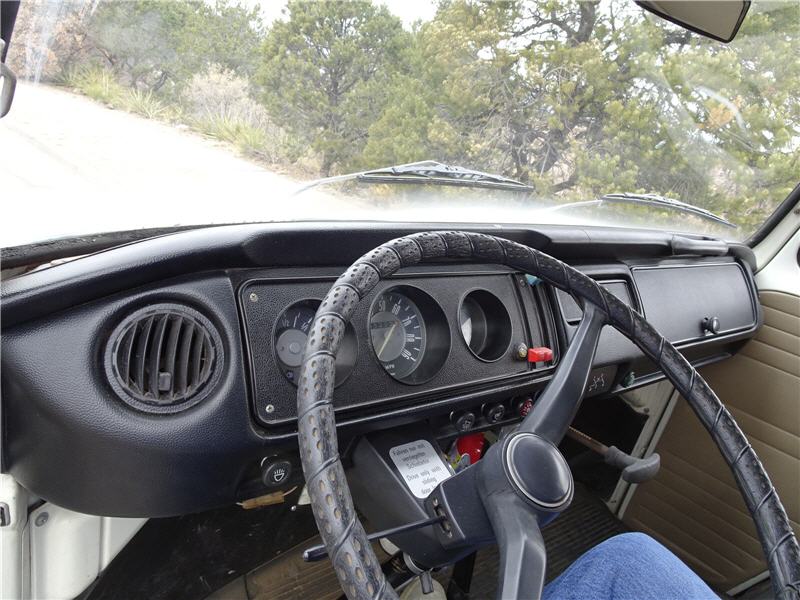
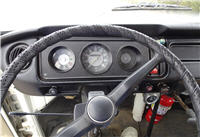
Instrument panel.
|
| |
|
 |
|
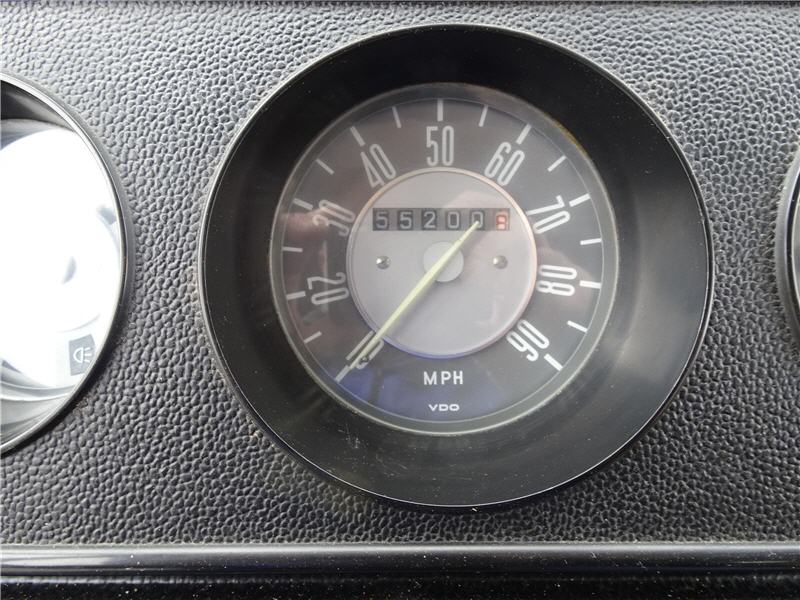
Speedometer and odometer. I believe that the 55,000 miles could be original,
since there is so much original stuff on this bus, and it is mechanically
so tight.
|
| |
|
 |
|
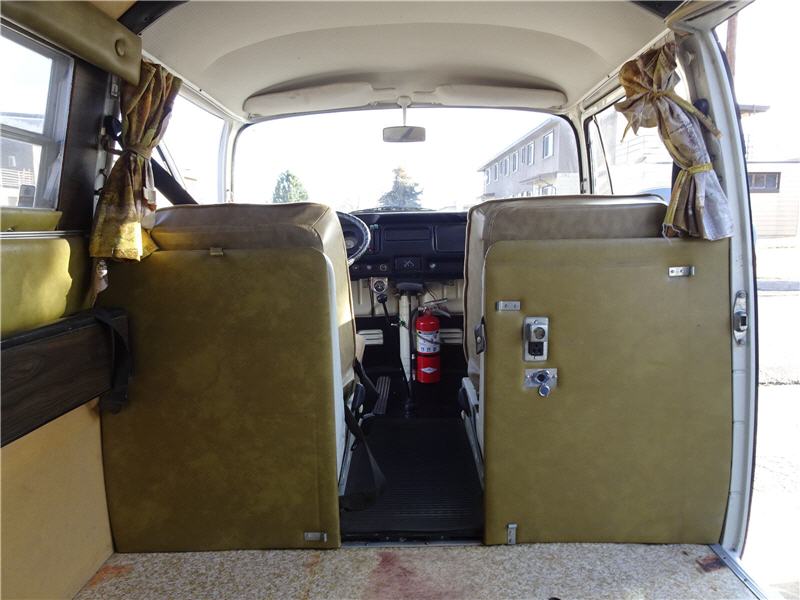
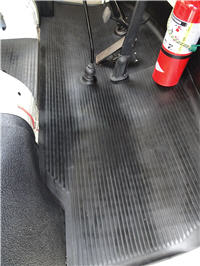
The kick panels have their original black vinyl. A fire extinguisher is added to all my buses.
|
| |
|
 |
|
The original front floor mat is in phenomenal condition.
|
| |
|
 |
|
The floor under the mat on the right side is like new.
|
| |
|
 |
|
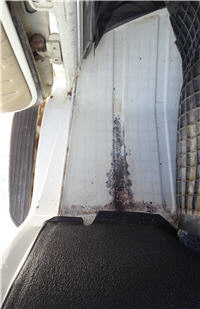
The left side, not quite. Some surface rust (treated) has developed probably
due to a windshield leak.
|
| |
|
 |
|
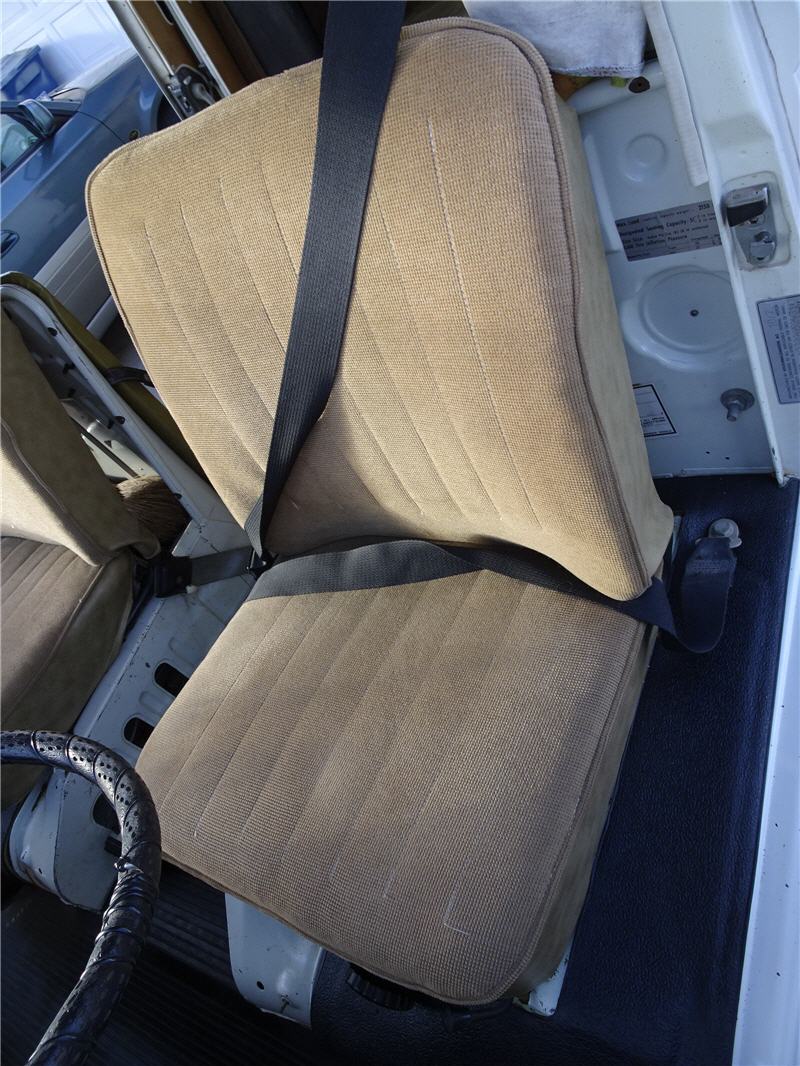
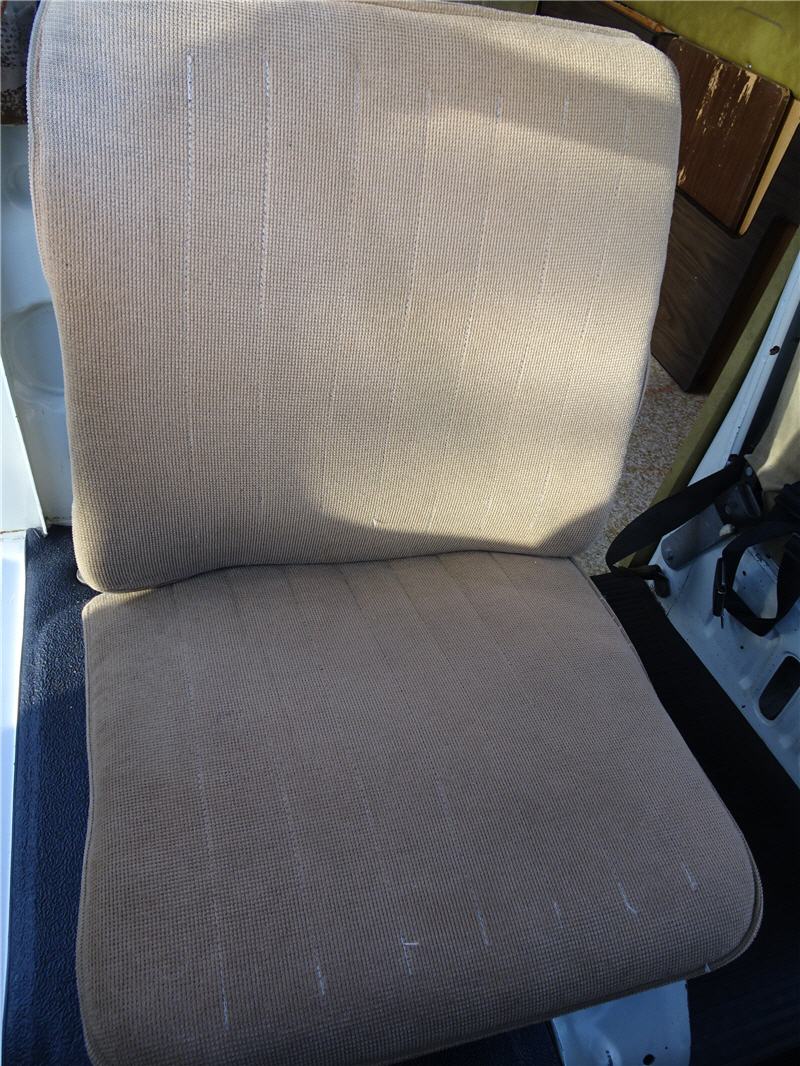
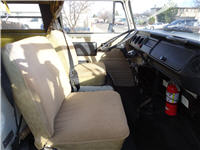
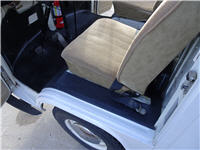
The front seats got special Sportsmobile uphosltery, and it is still in
fine condition, with no tears or bare spots. There are no head rests, since
these were not introduced as an option until 1973.
The original seat belts work.
|
| |
|
 |
|
Driver's seat
|
| |
|
 |
|
Passenger's seat
|
| |
|
 |
|
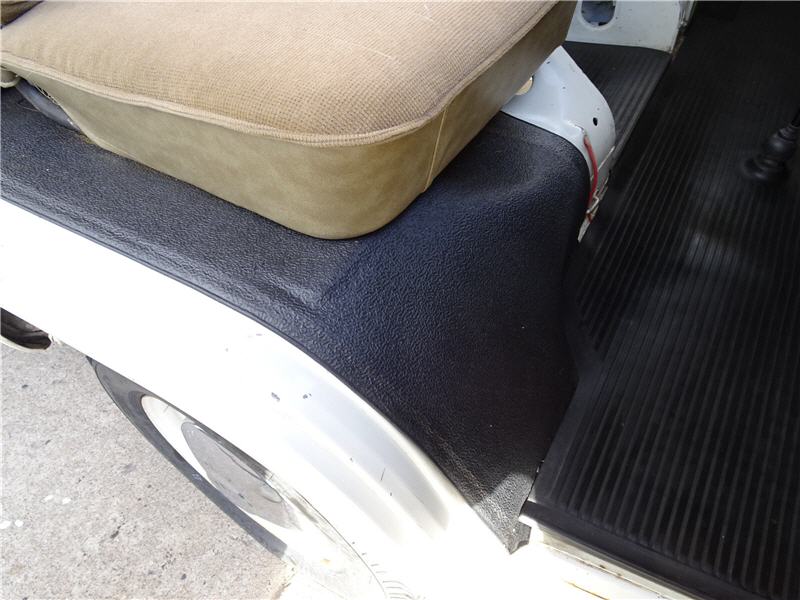
The seat stand mats are replaced with nice reproductions from Wolfsburg West.
The original ones fell apart in my hands.
|
| |
|
 |
|
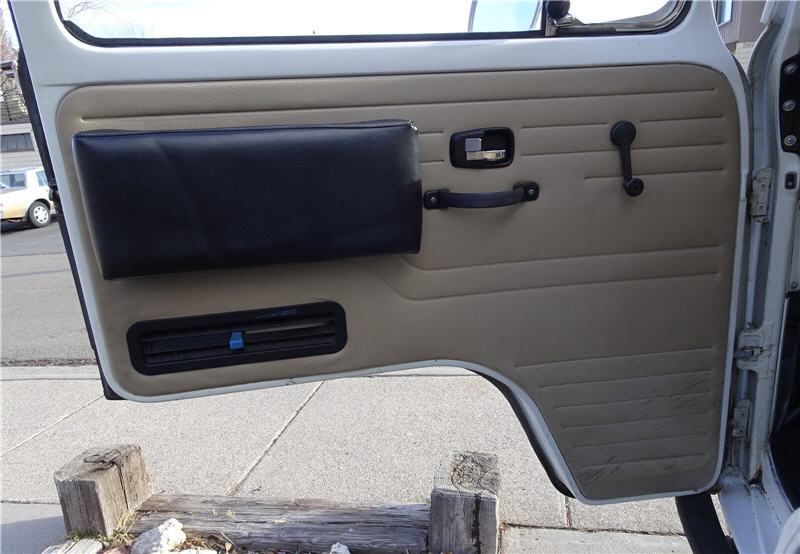
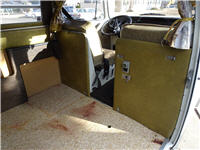
Driver's door is in great shape, complete with the optional
Sportsmobile map pocket/arm rest. And a new NOS door lock mechanism.
|
| |
|
 |
|
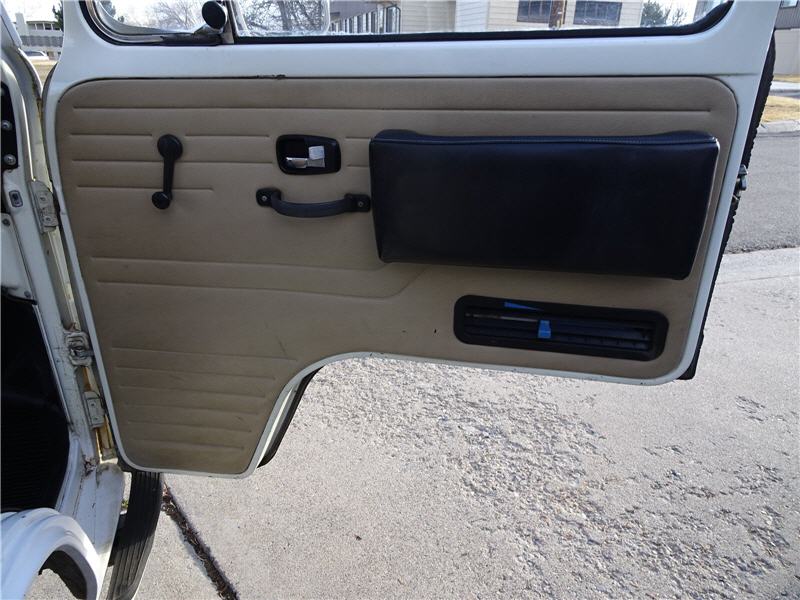
The passenger's door is likewise in great condition.
|
| |
|
 |
|
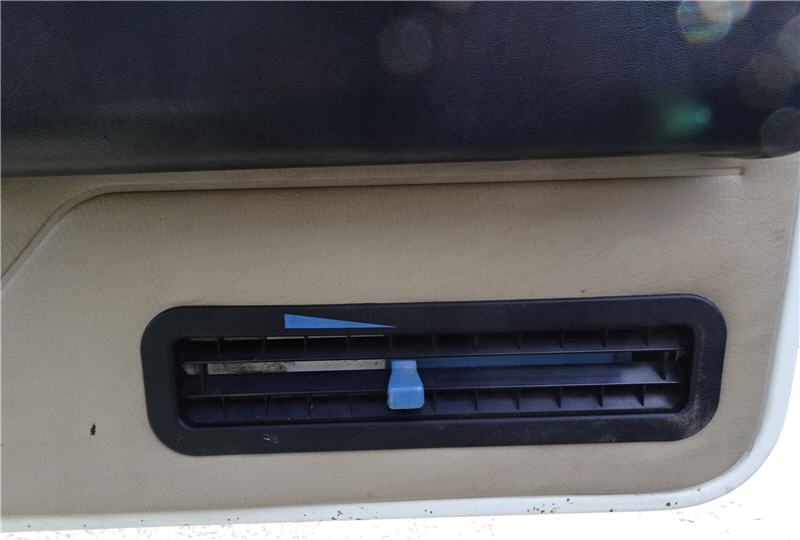
In 1972, VW painted a blue traingle on the vent control.
This detail was dropped the following model year.
|
| |
|
 |
|
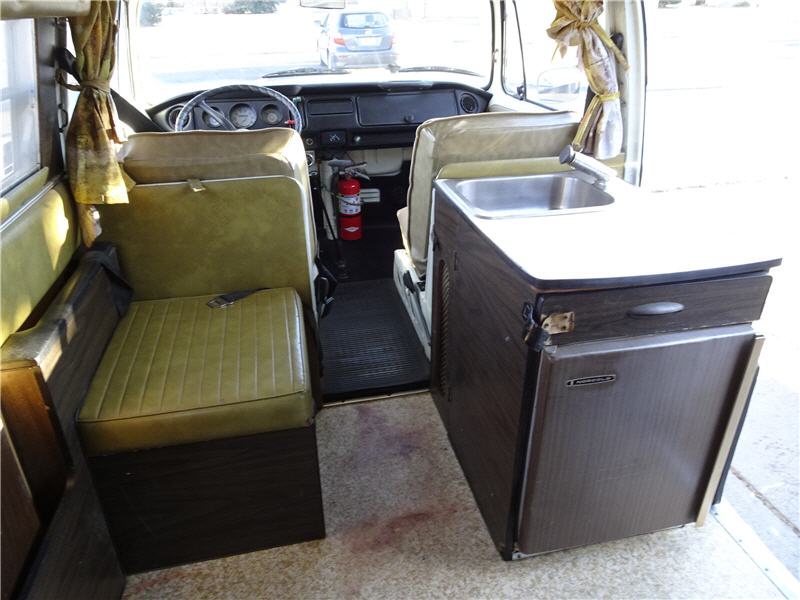
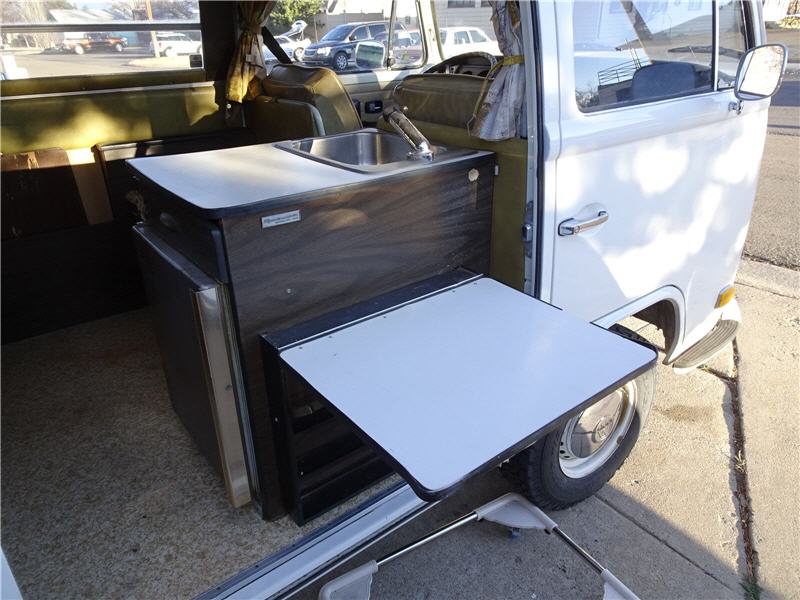
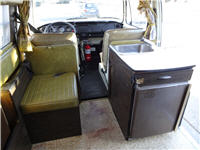
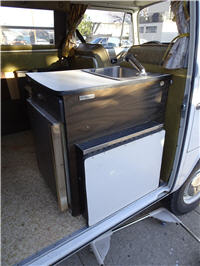
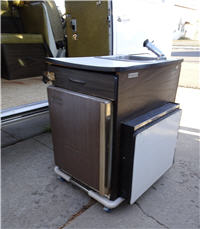
For daily driving, you might like to have the sink/fridge cabinet removed, and
a rubber mat on the floor.
|
| |
|
 |
|
The complete camper kit includes the sink and fridge cabinet.
|
| |
|
 |
|
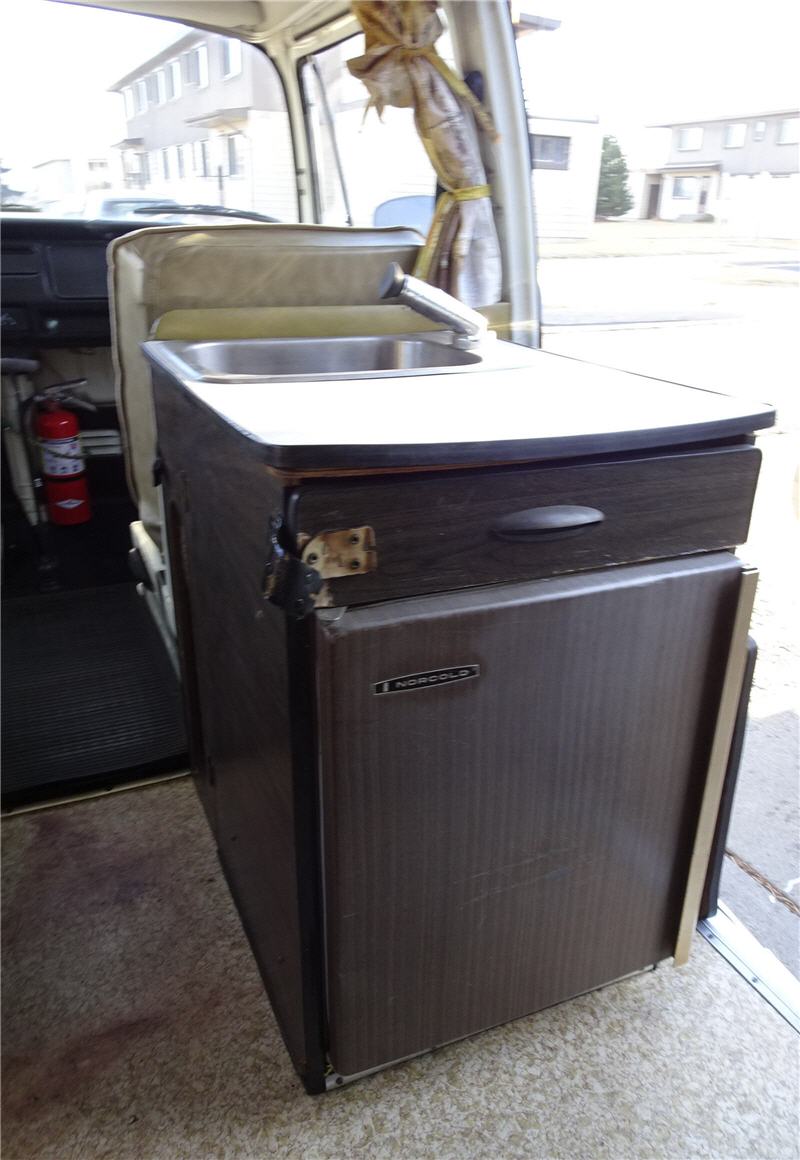
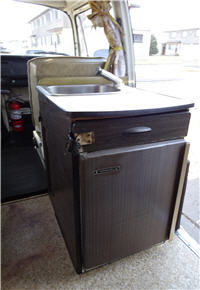
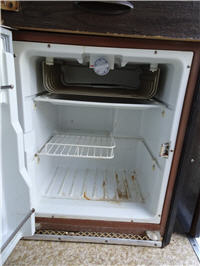
Sink and refigerator cabinet goes here, but it can be removed.
The clips that secure it to the bulkhead need attention.
I have not tested the refrigerator (which requires 110-v shore power)
or the sink pump. The sink drains through a hole in the floor.
|
| |
|
 |
|
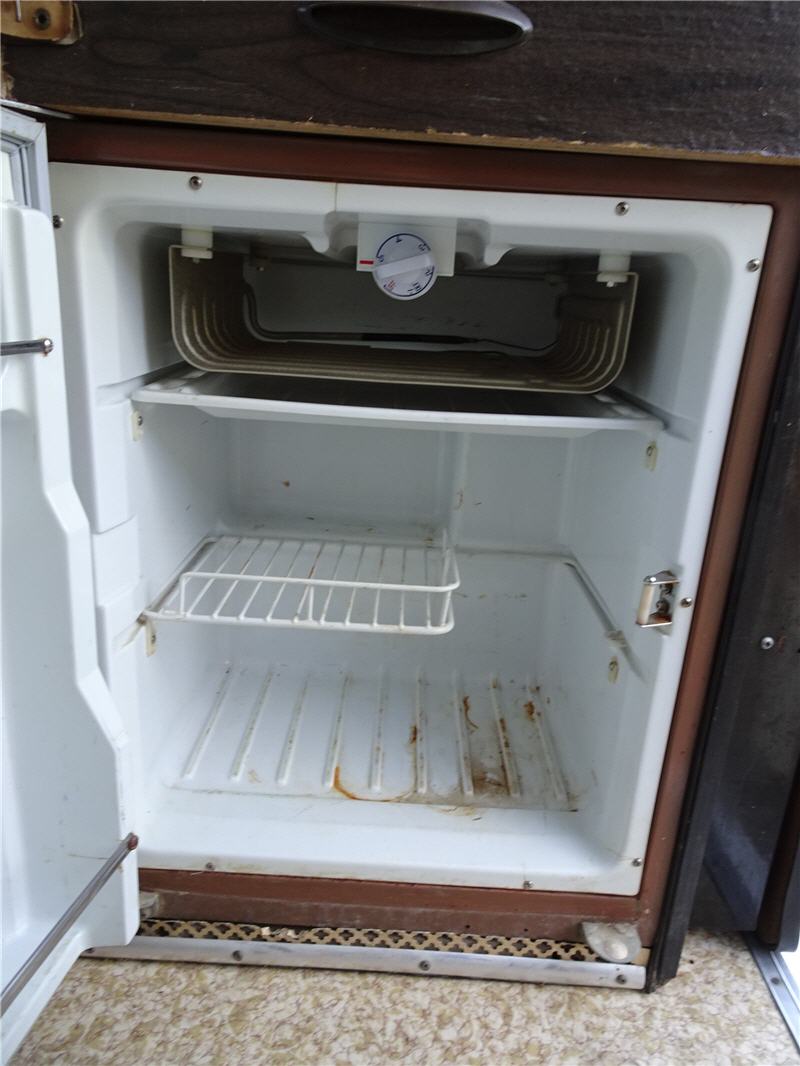
Inside the refrigerator.
|
| |
|
 |
|
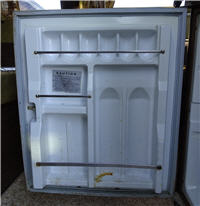
Fridge door. Why does "fridge" have a "d" in it, but "refrigerator" has no "d"?
|
| |
|
 |
|
The Sportsmobile badge. There was probably another on the back of the penthouse,
but all that remains are the rivet holes and a masking in the paint.
|
| |
|
 |
|
Sink and refigerator cabinet from the outside. Note dolly on pavement.
|
| |
|
 |
|
The handy pop-up outside table!
|
| |
|
 |
|
Under the outside table is a spice rack.
|
| |
|
 |
|
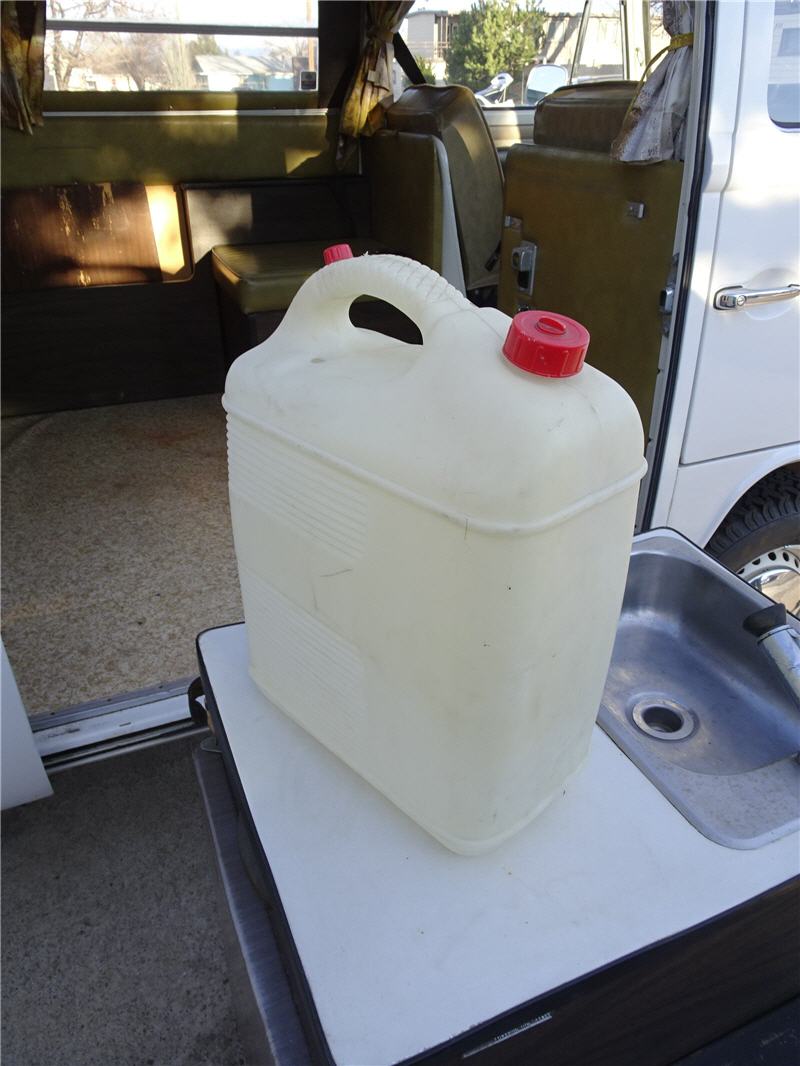
The fresh water tank lives under the sink.
|
| |
|
 |
|
I am including a custom dolly for the sink cabinet for when it is not in the vehicle.
|
| |
|
 |
|
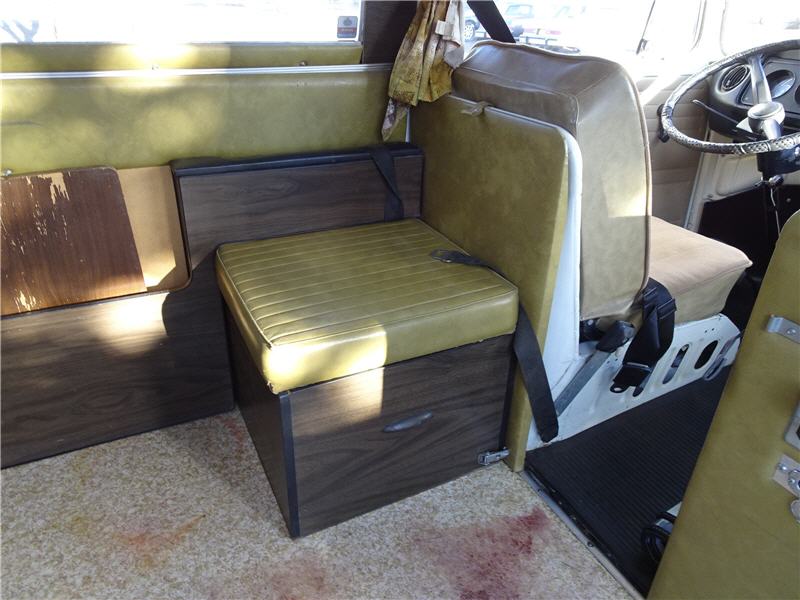
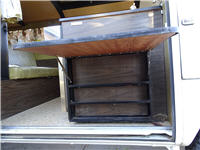
The jump seat can also be removed.
|
| |
|
 |
|
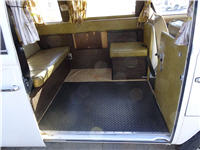
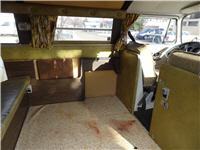
Both the sink/fridge cabinet and the jump seat can be removed,
with finished upholstery behind.
|
| |
|
 |
|
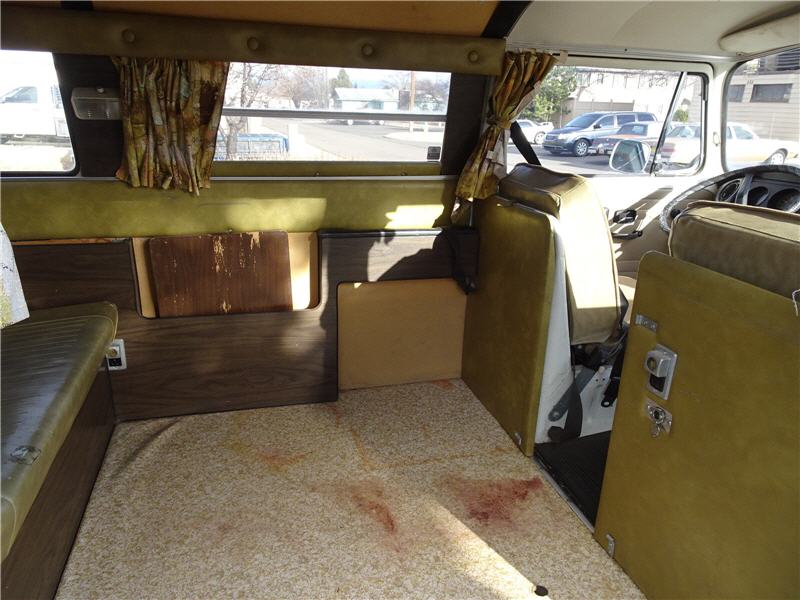
The open space without the cabinet and jump seat allows for a ton of cargo.
Literally! These buses are rated to carry nearly metric ton (2150 lb).
Sorry about the red stain on the floor. I'm sure thare's a story behind that.
|
| |
|
 |
|
Empty floor looking forward
|
| |
|
 |
|
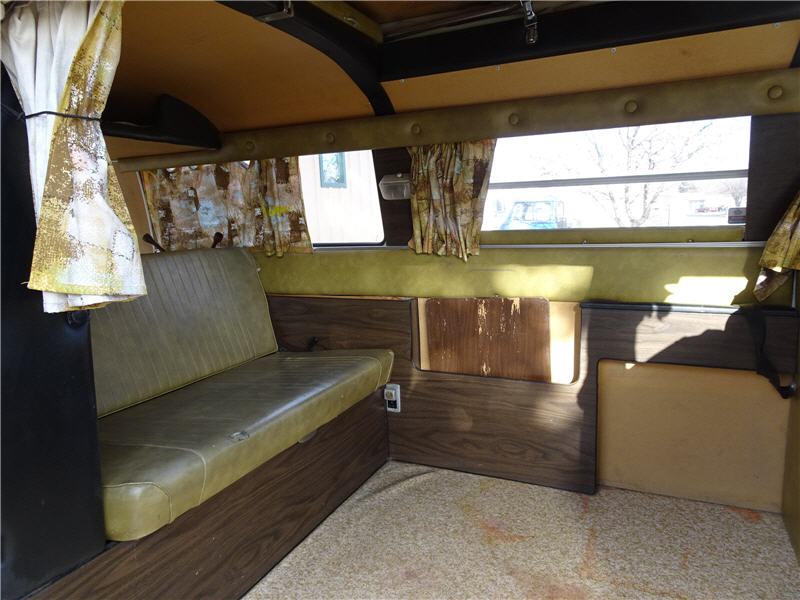
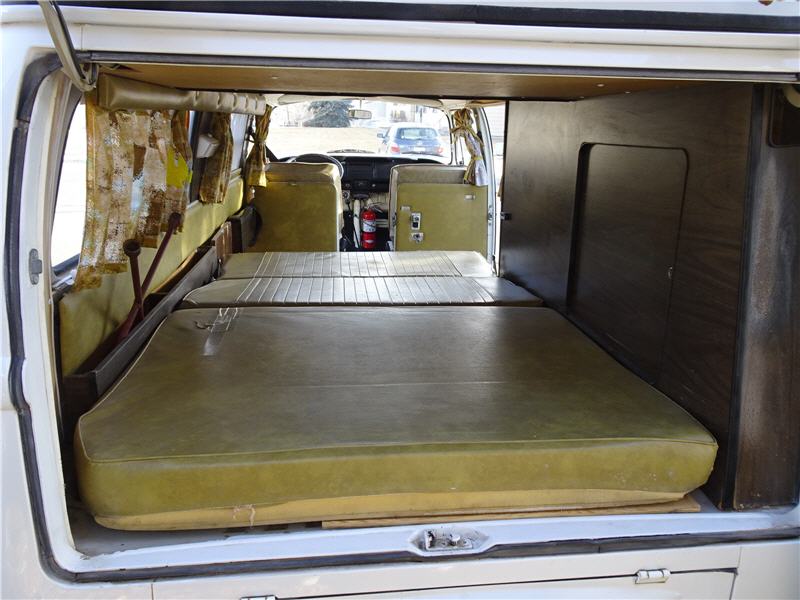
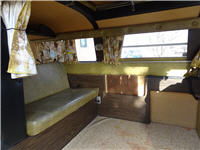
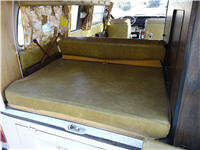
Rear seat and interior. There is storage space under the seat.
|
| |
|
 |
|
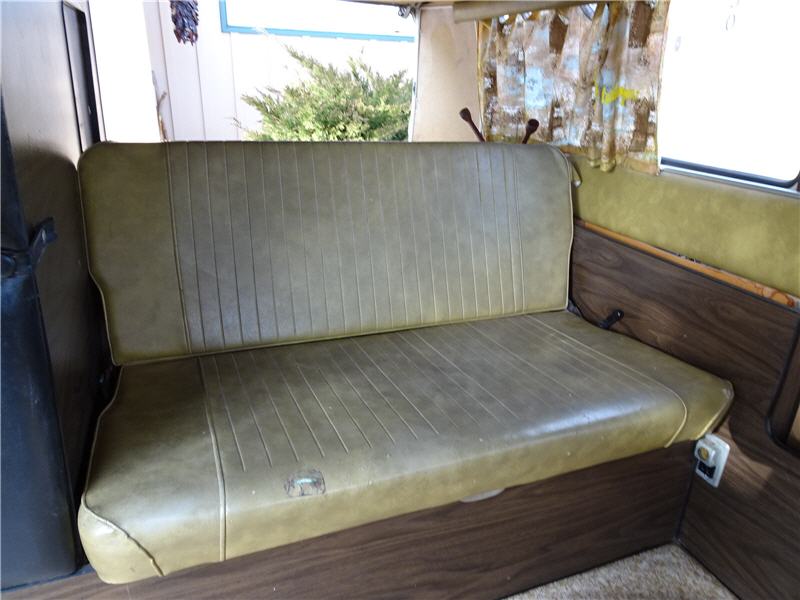
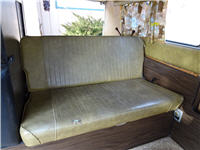
Rear seat/bed as seat.
|
| |
|
 |
|
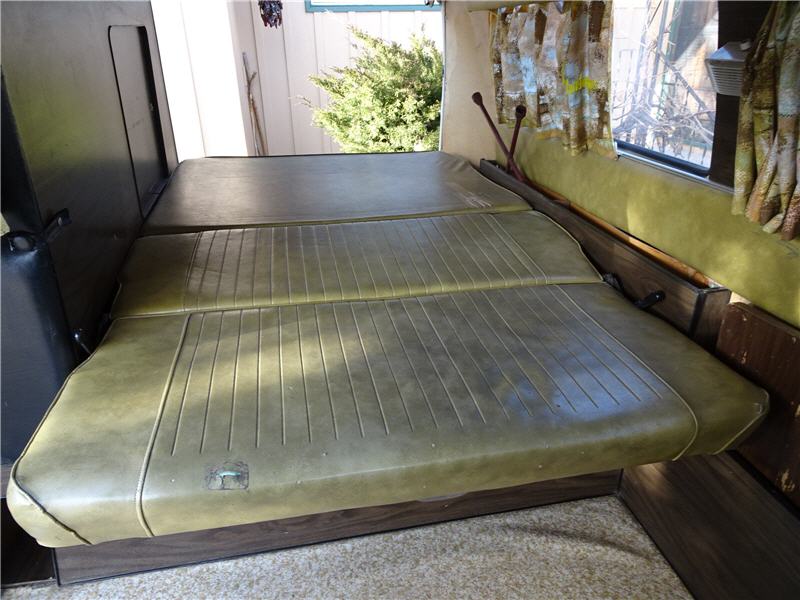
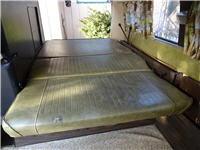
Rear seat/bed as bed.
|
| |
|
 |
|
With the seat up, the rear bed becomes a cargo area.
|
| |
|
 |
|
Lower bunk sleeps two as well.
|
| |
|
 |
|
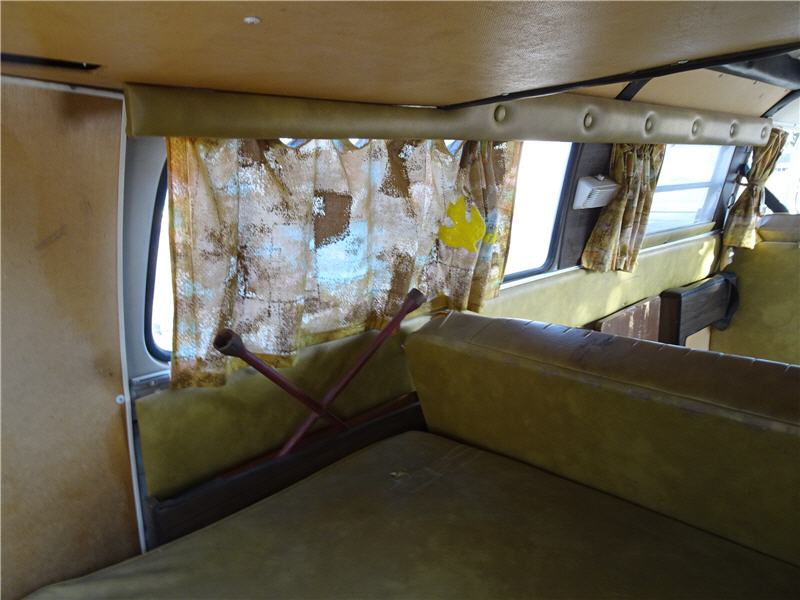
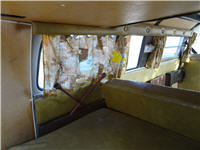
Left side of rear bunk area.
|
| |
|
 |
|
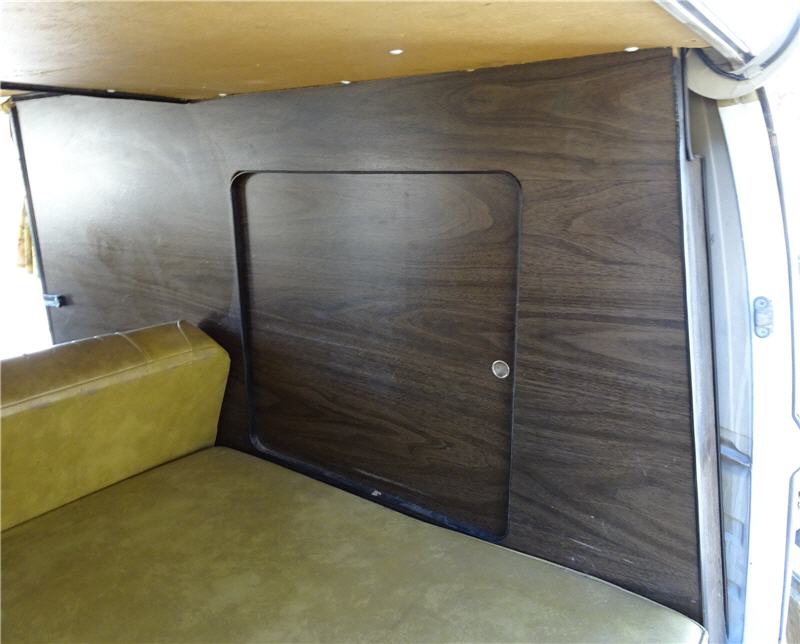
A cabinet with a sliding door and a shelf is in the back.
|
| |
|
 |
|
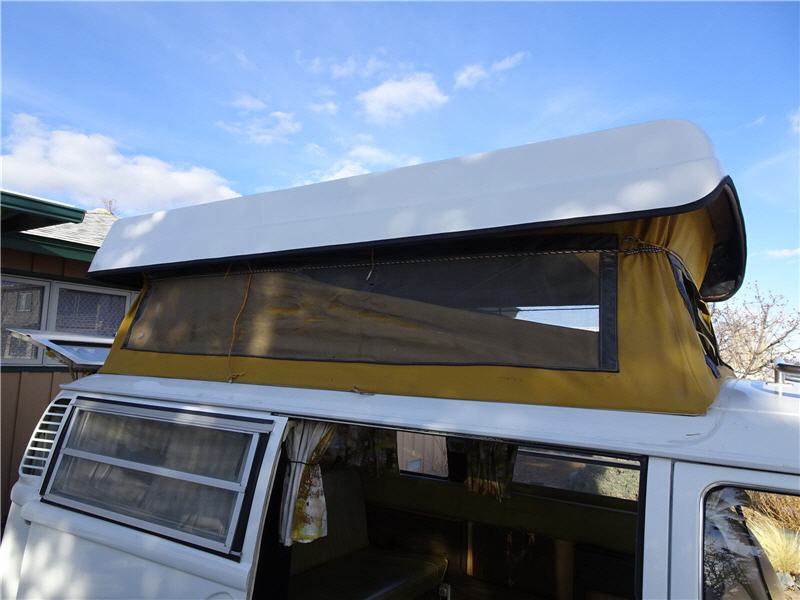
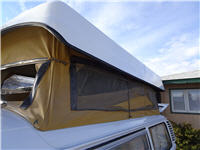
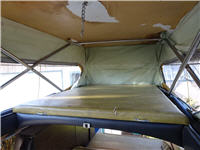
The bed in the penthouse has plenty of screens (all in need of replacement),
and a bed extension.
Note that the original white vinyl on the roof as all but disappeared.
This is true of the white vinyl throughout the inside of the camper.
|
| |
|
 |
|
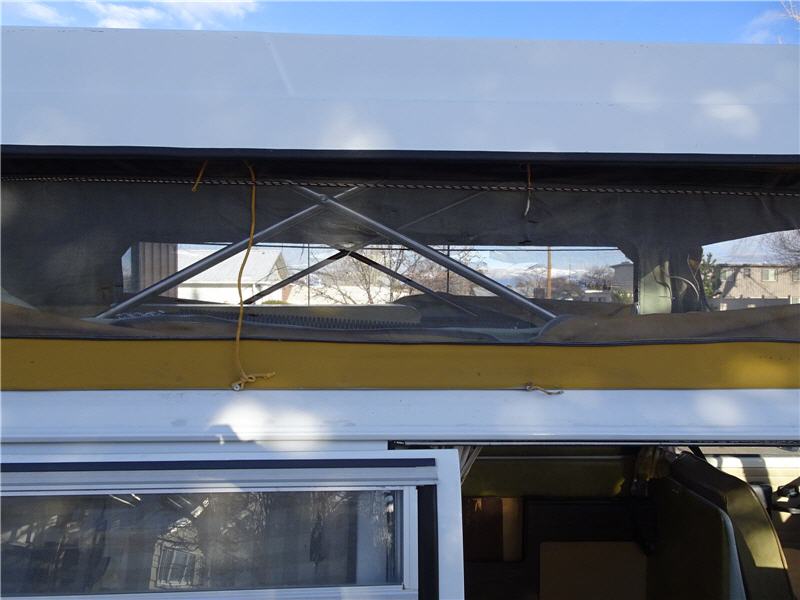
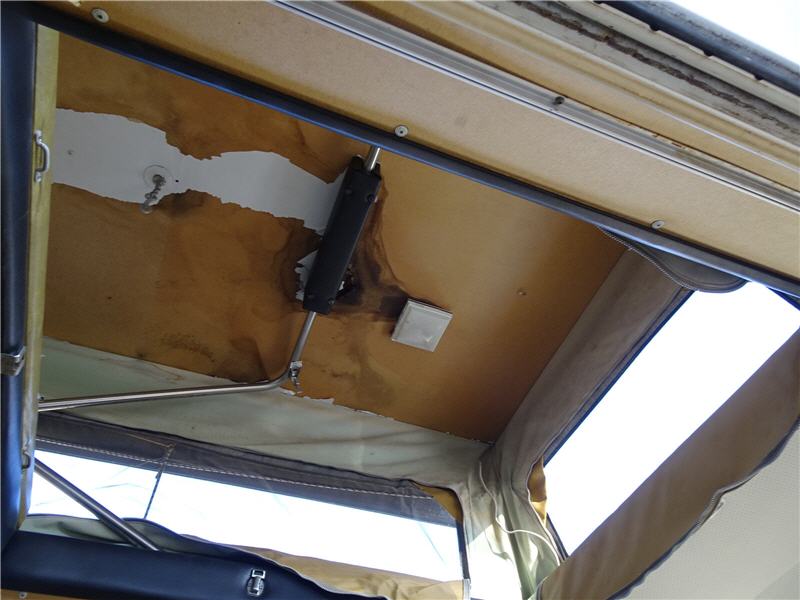
Looking up at the bottom of the penthouse roof, you see a light, the remains
of some white vinyl, and some rotted material around the lift mechanism.
Although the roof works, I would recommend replacing the ceiling soon.
|
| |
|
 |
|
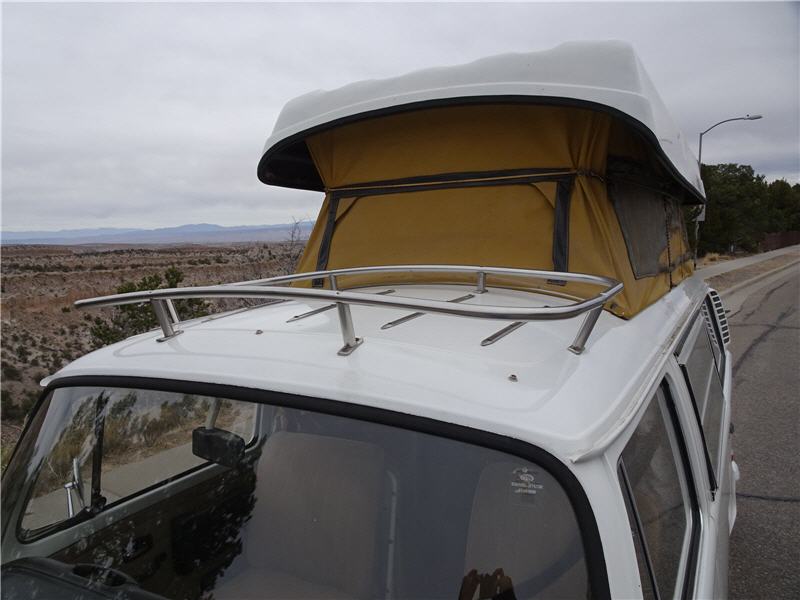
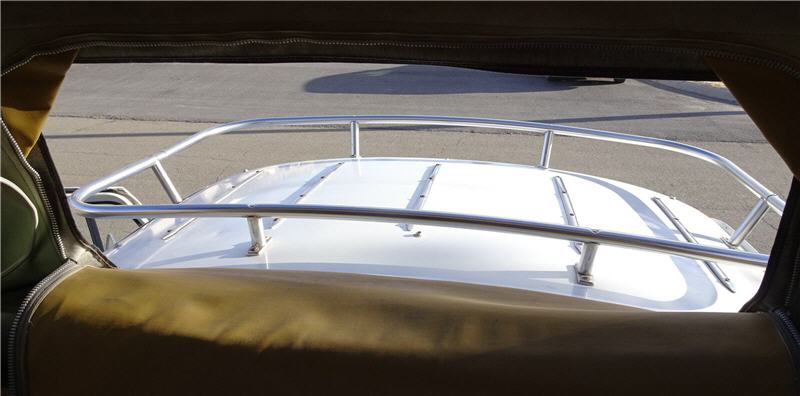
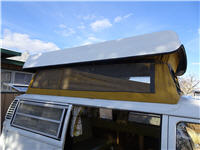
The roof rack is most easily accessed...
|
| |
|
 |
|
...from the inside!
|
| |
|
 |
|
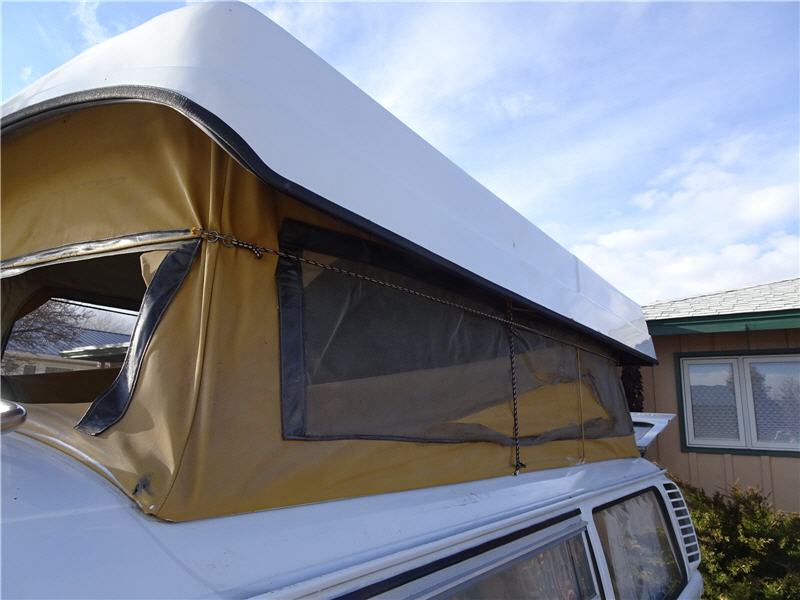
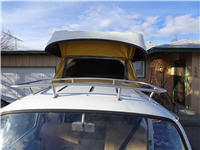
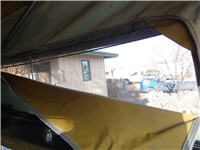
Side and front walls of the penthouse have zippered walls,
with insect screens that need replacment. The zippers are metal and
really tough, though. Sportsmobile did way better than Westfalia on the zippers.
|
| | ENGINE |
| |
|
 |
|
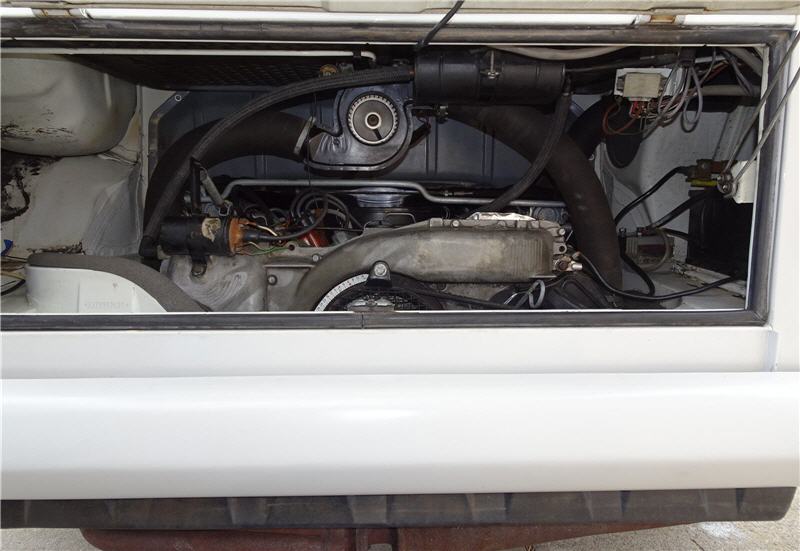
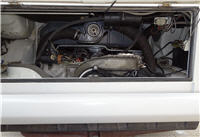
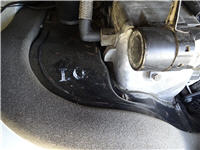
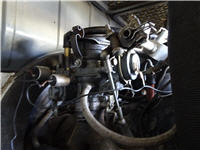
Original 1.7-L Type IV CB four-cylinder flat four pancake aircooled 49,000-watt power plant.
|
| |
|
 |
|
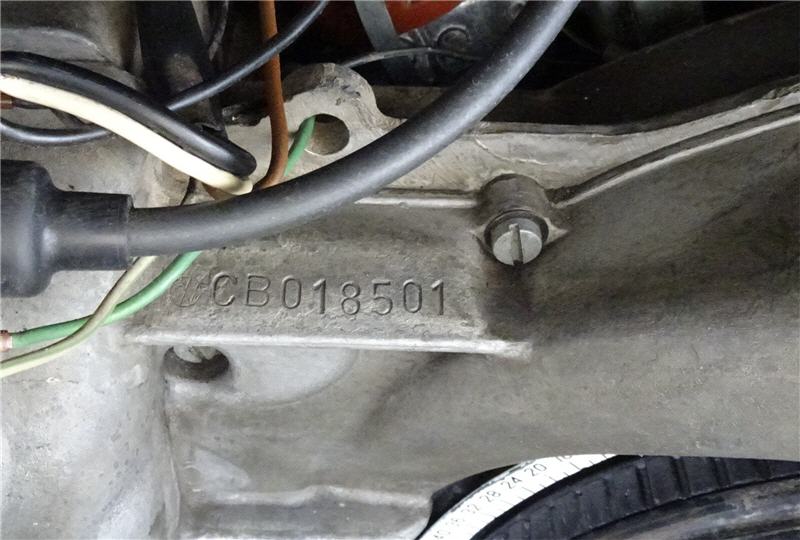
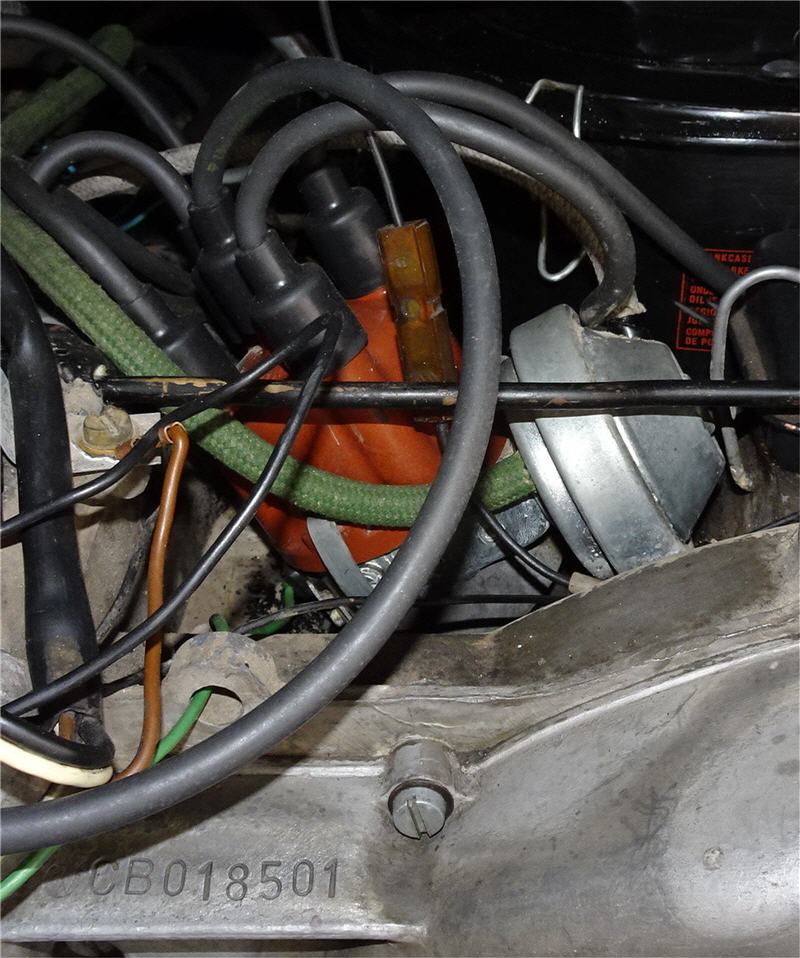
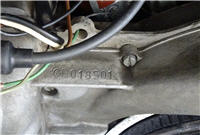
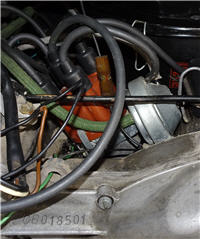
Engine number CB018501, to be exact.
|
| |
|
 |
|
The engine tin sports the rare I.O designation, which means it is original
and has never been painted -- another indication of a low-mileage bus.
It has been said that these are the initials of Inspector Otto.
|
| |
|
 |
|
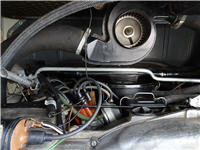
engine left
|
| |
|
 |
|
engine center
|
| |
|
 |
|
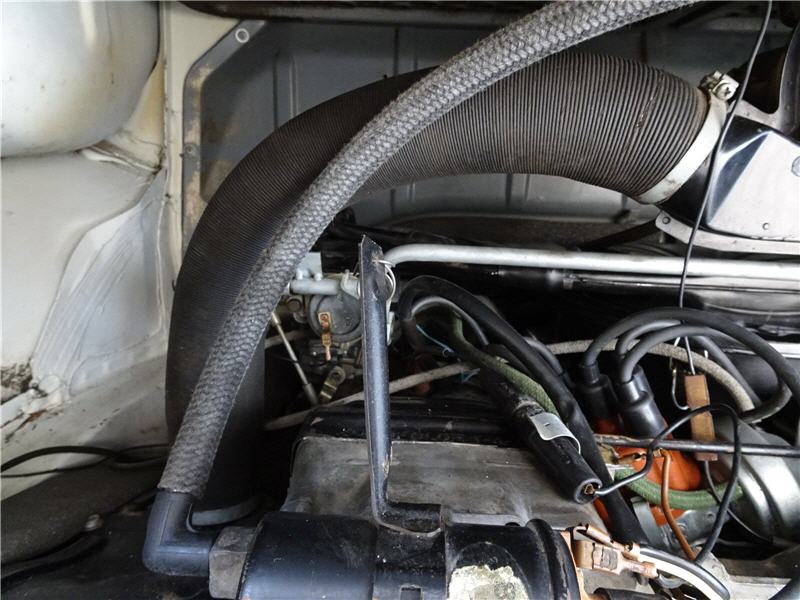
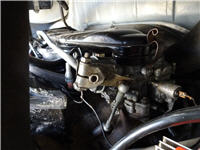
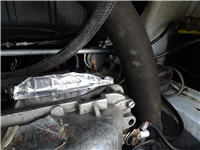
Original and nicely rebuilt Solex carburetor, left. What you see is mostly the choke.
|
| |
|
 |
|
Here's a side view of the left carburetor. The left one is more complicated
(with another solenoid) because it supports the idle air circuit.
|
| |
|
 |
|
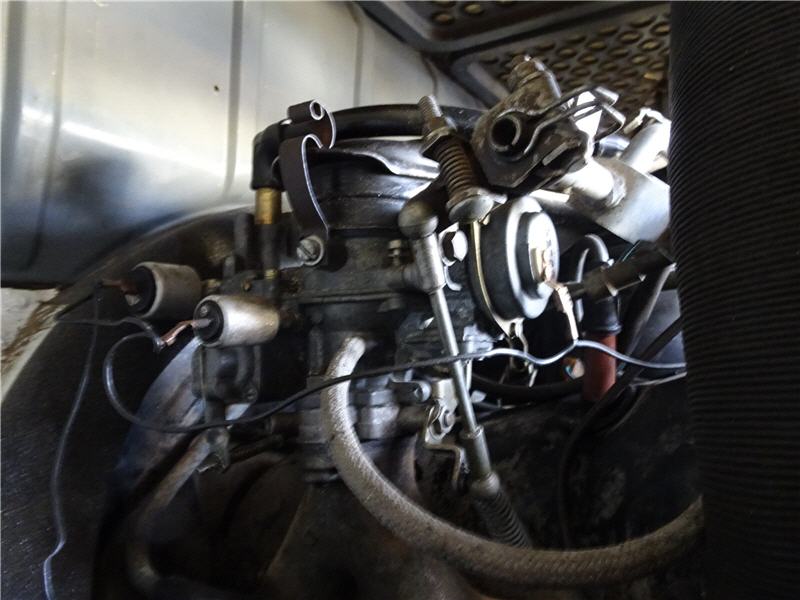
Right unit of the Solex dual carburetors. Well, the choke and mechanism, anyway.
|
| |
|
 |
|
There's the side of the right carburetor.
|
| |
|
 |
|
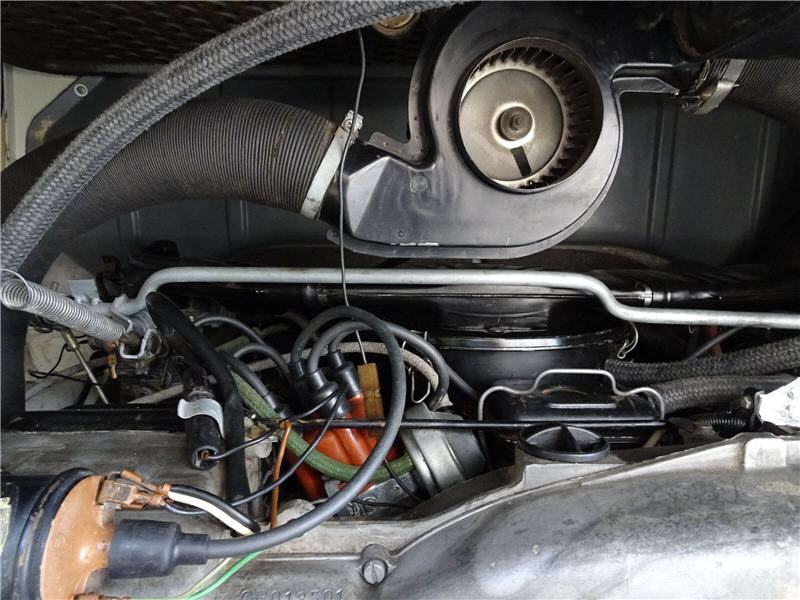
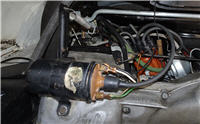
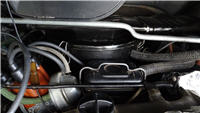
Good old coil. They don't make them like that anymore.
|
| |
|
 |
|
Original vacuum advance distributor.
|
| |
|
 |
|
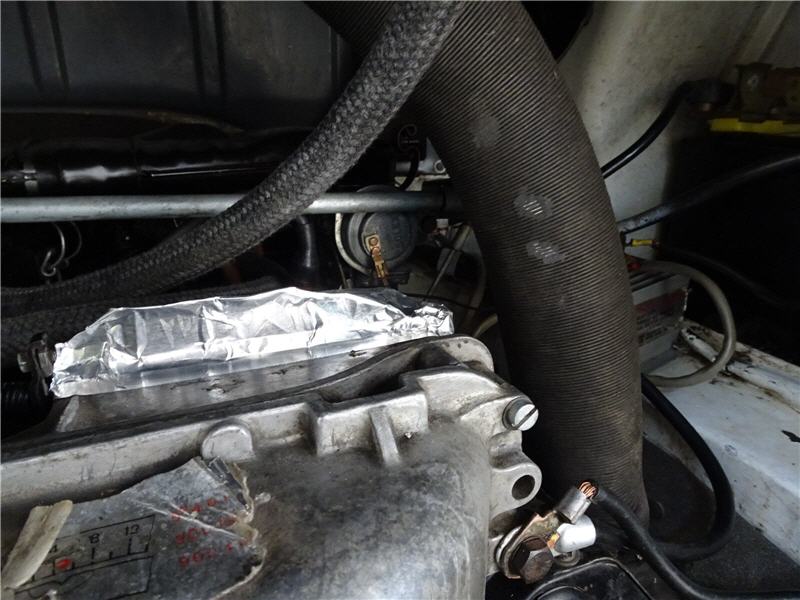
Some idiot gorilla-handled the right side upper cooling tin, bending it upwards.
Until a replacement piece is acquired and installed, or this one is removed and
repaired (could work), a strip of aluminum duct tape will have to suffice.
In the mean time, this hippie fix keeps the cooling air under the tin.
|
| |
|
 |
|
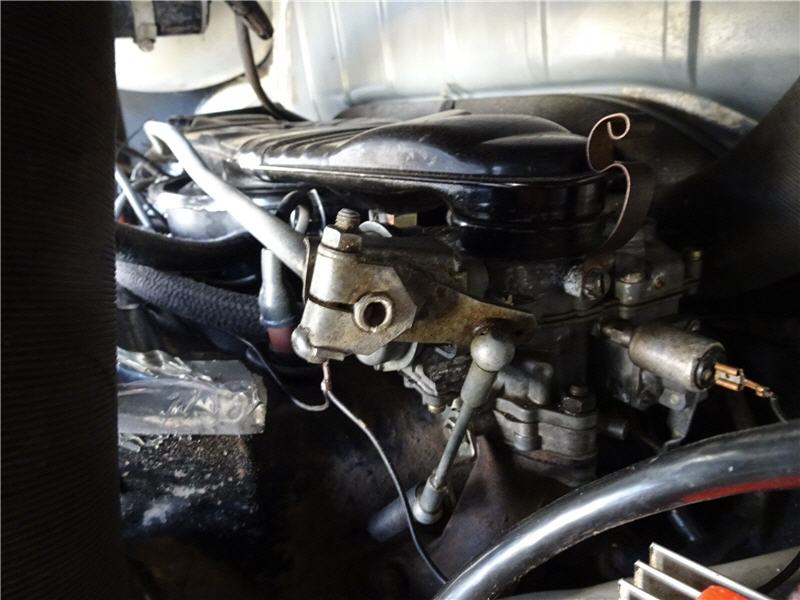
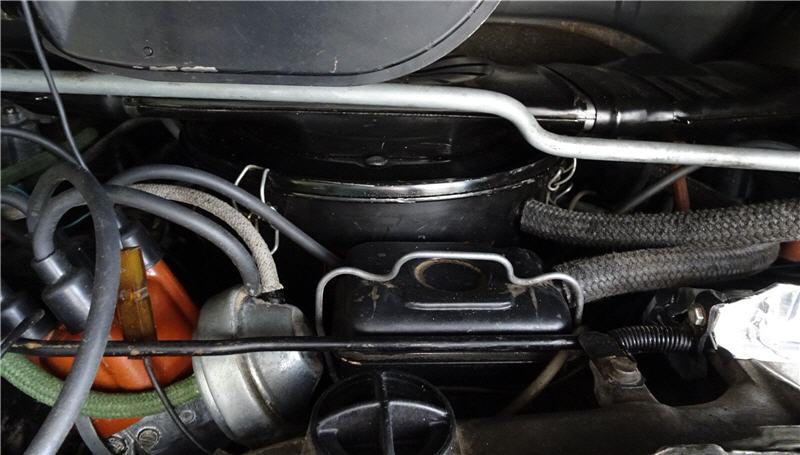
1972 is the last model year for the oil bath intake air filter,
and this one is specific to that year. What a great system in its simplicity.
|
| |
|
 |
|
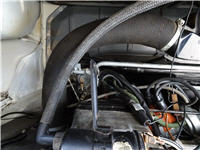
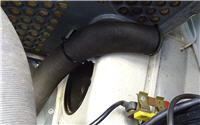
This engine has the original paper air intake hose, complete with the
plastic anti-crush ring at the end. I've never seen one before.
|
| |
|
 |
|
Here is the entire hose in all its intact glory.
|
| |
|
 |
|
The factory diagnostic test block has many other uses.
|
| |
|
 |
|
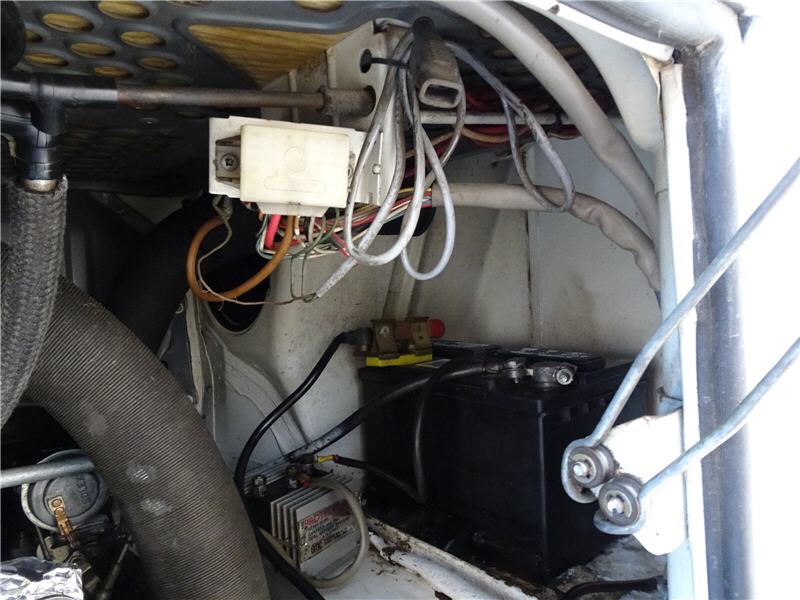
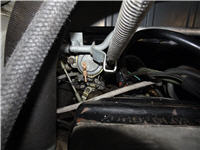
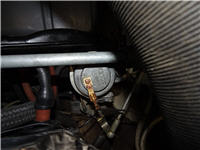
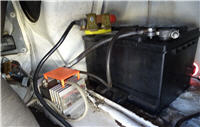
Sportsmobile installed a house battery (not included) and an isolator,
seen here. I've added a convenient battery disconnect knife switch.
Yes, this is not the correct battery, since in 1972 the positive pole was on the left.
But it works.
|
| |
|
 |
|
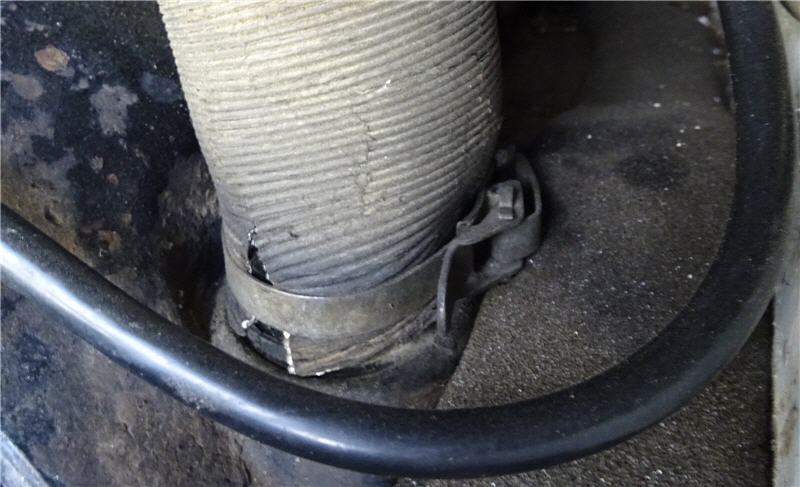
Little details like this original air hose clamp are special.
|
| | UNDERCARRIAGE |
| |
|
 |
|
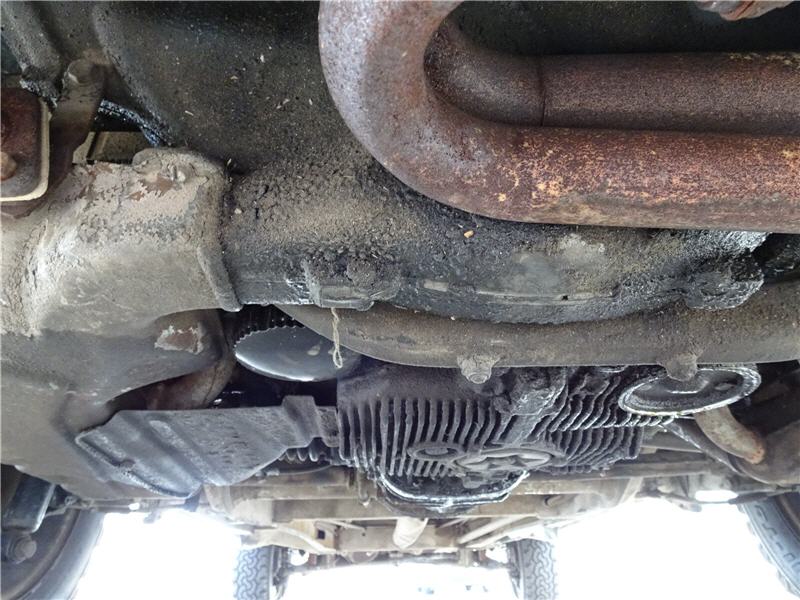
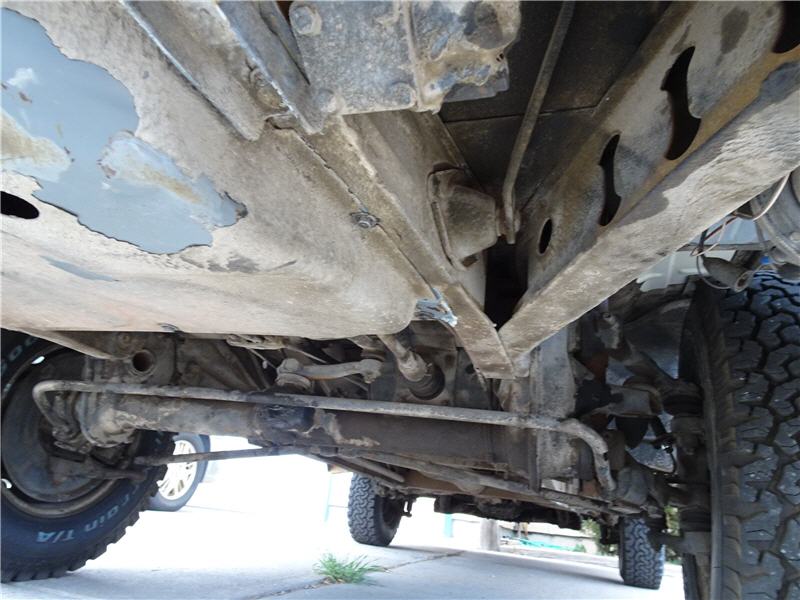
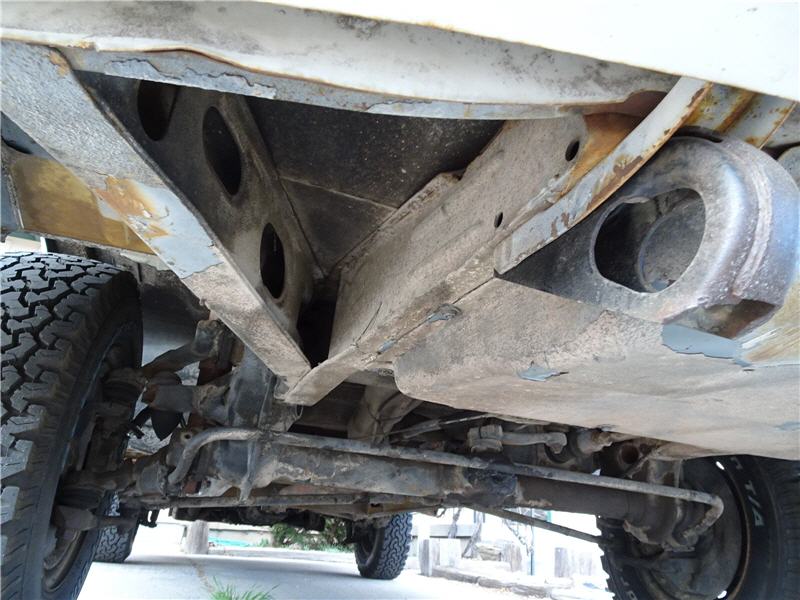
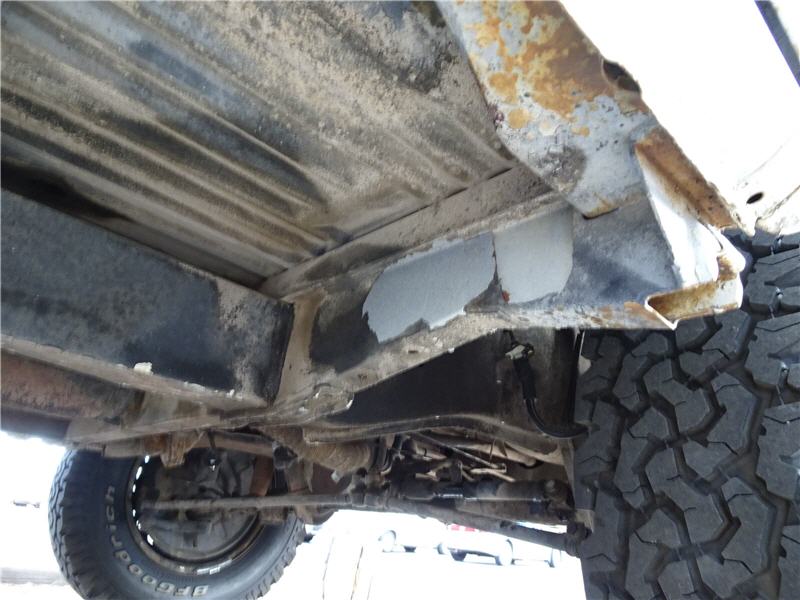
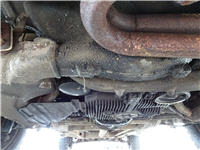
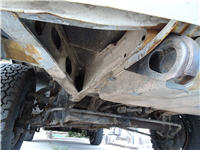
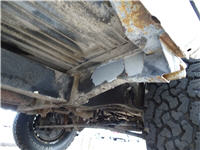
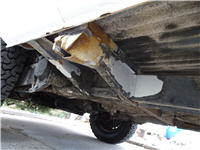
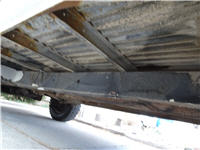
It's not the most flattering view, but everything is there.
Well, except for the right side sled tin. A replacement is in the offing.
|
| |
|
 |
|
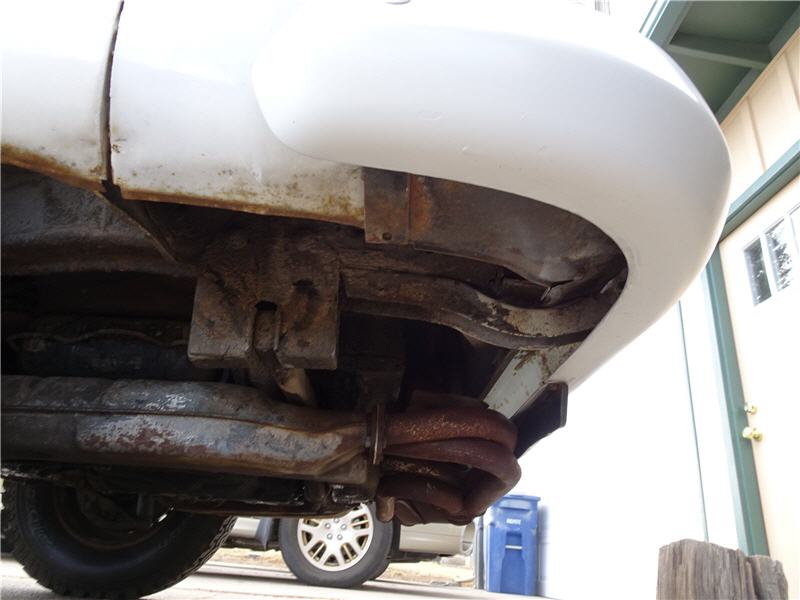
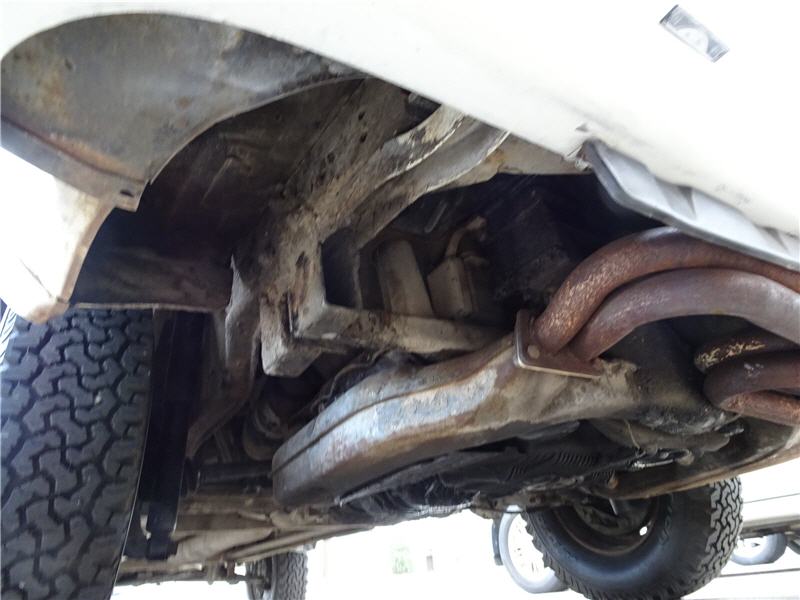
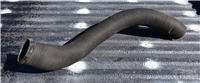
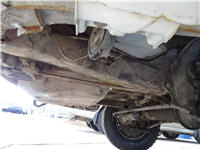
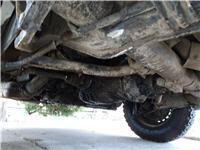
Exhaust, left side. The heat works well.
|
| |
|
 |
|
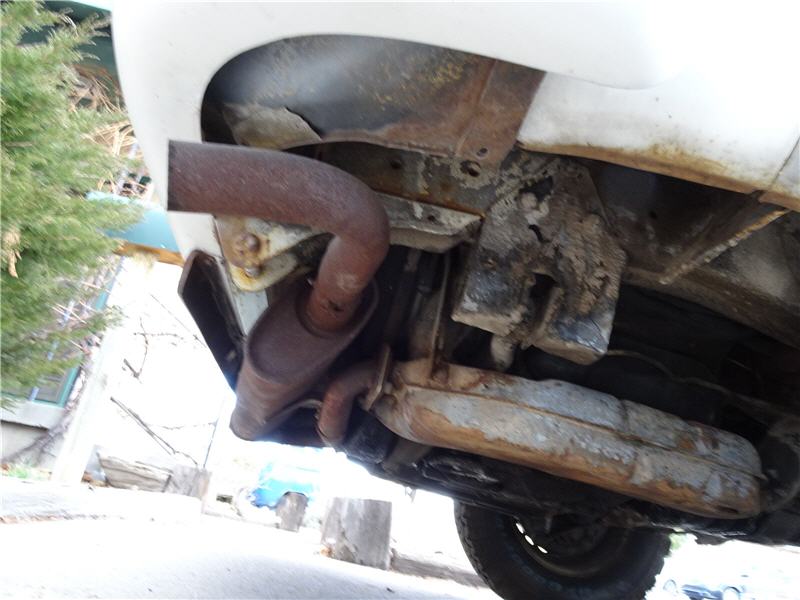
Right side exhaust.
|
| |
|
 |
|
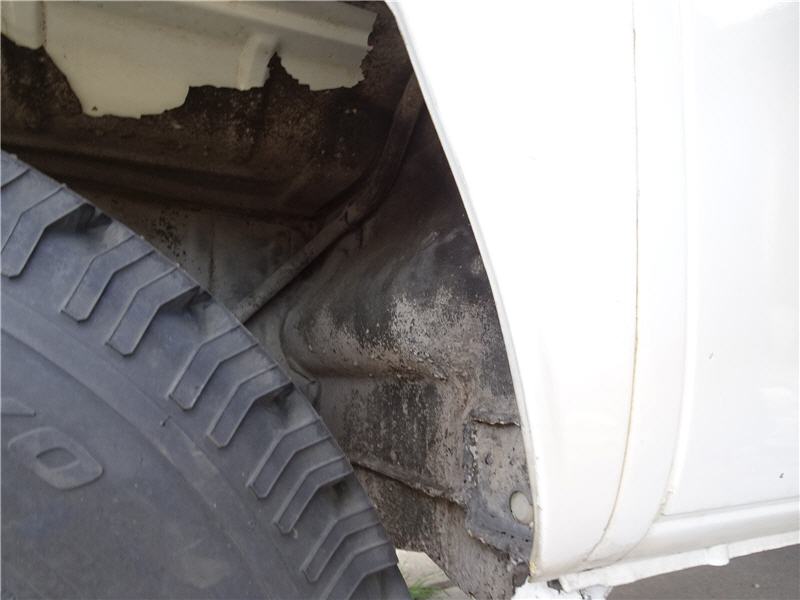
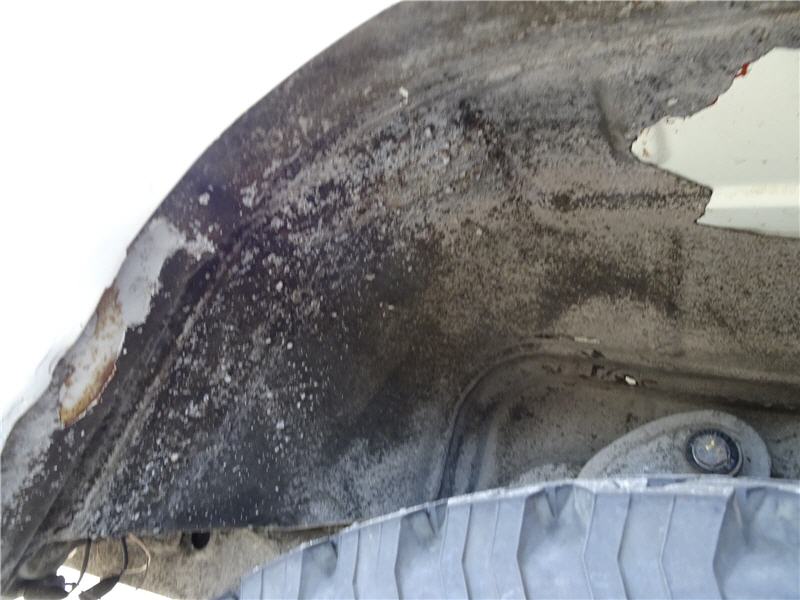
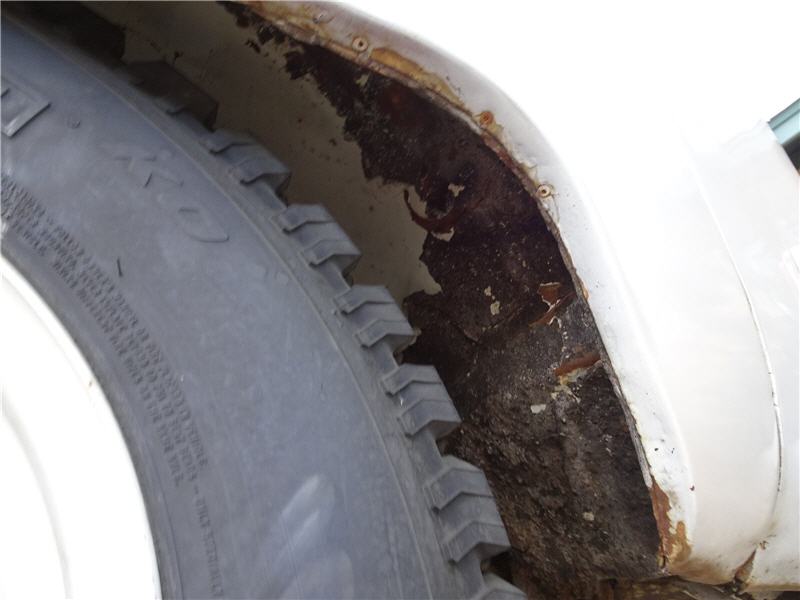
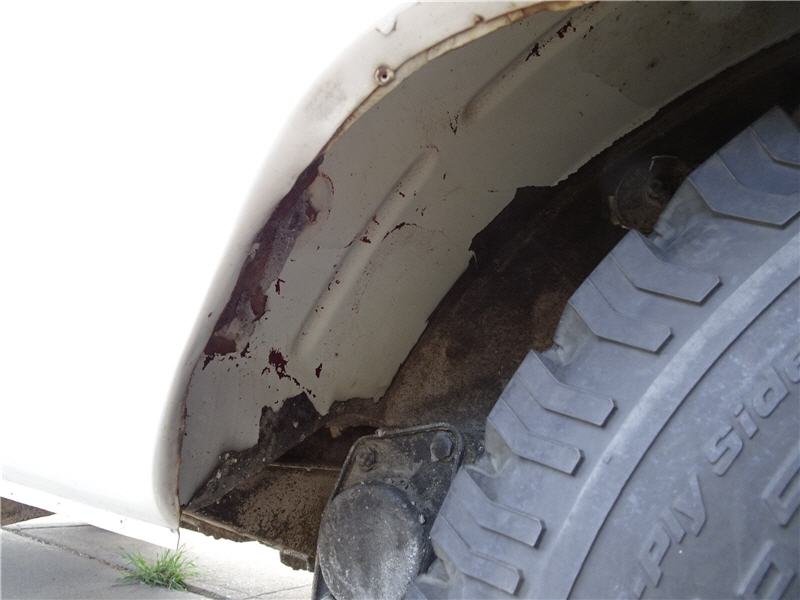
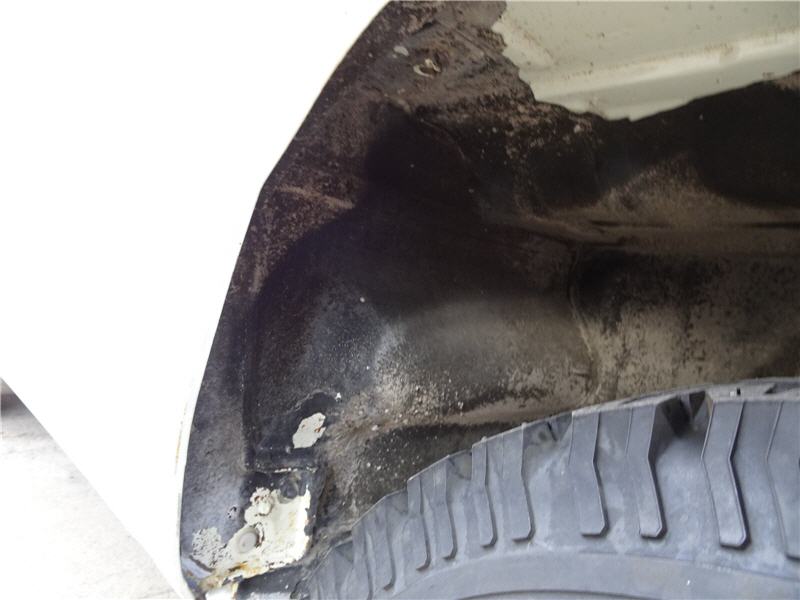
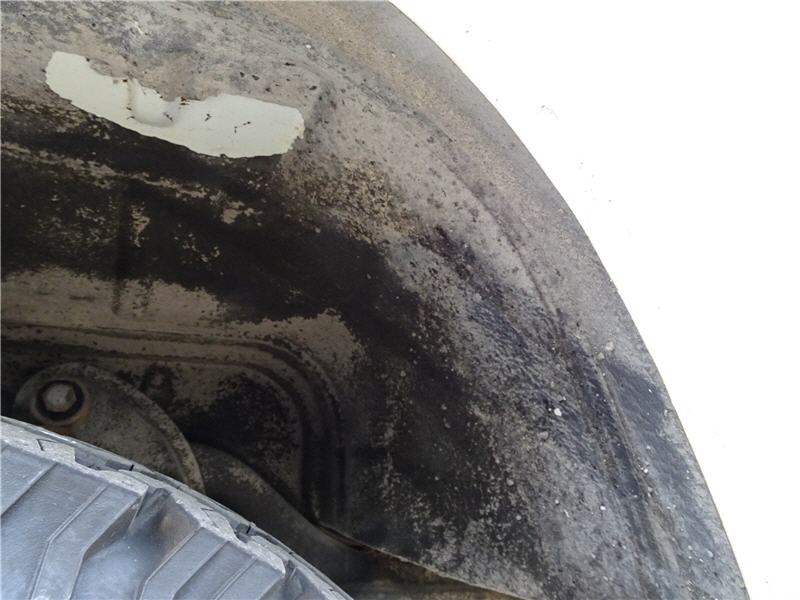
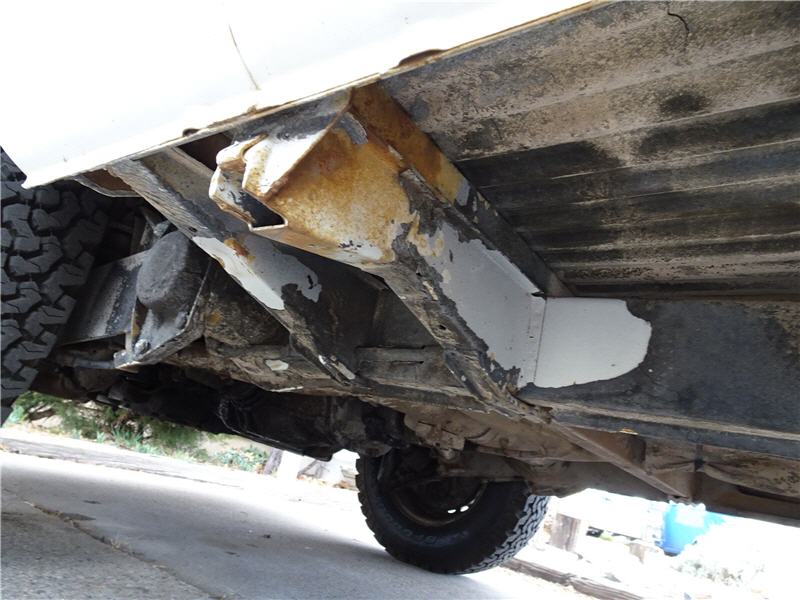
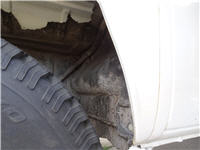
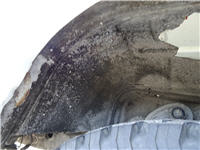
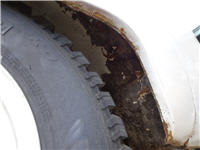
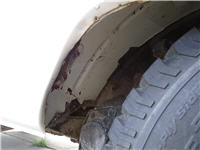
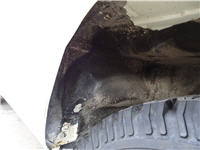
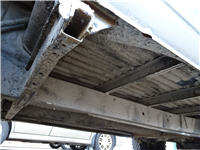
Wheel wells all around are good metal, though the left rear seems to have had some
low-rate bodywork (see the pop-rivets along the seam). It is nevertheless holding up well.
|
| |
|
 |
|
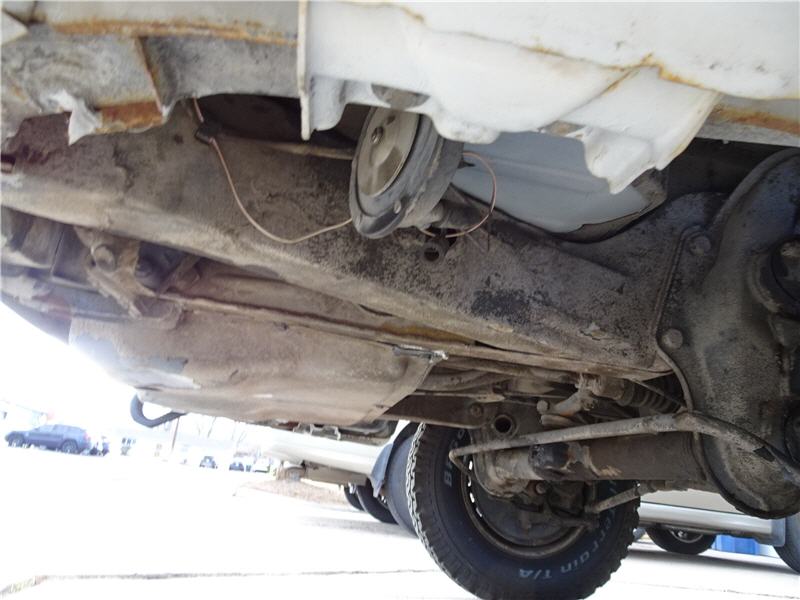
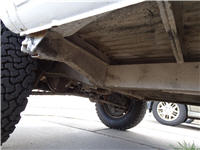
Fronst suspension, left side.
|
| |
|
 |
|
Fronst suspension, right side. Note the lovely 1972 tow hook, a correct replacement for the original,
which was mangled.
|
| |
|
 |
|
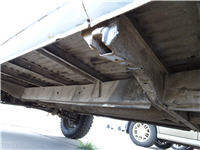
Undercarriage at the left front jack point.
|
| |
|
 |
|
Undercarriage at the left rear jack point.
|
| |
|
 |
|
Undercarriage at the right front jack point.
|
| |
|
 |
|
Undercarriage at the right rear jack point.
|
| |
|
 |
|
Undercarriage left front
|
| |
|
 |
|
Undercarriage left rear
|
| |
|
 |
|
Undercarriage right side
|
| |
|
 |
|
Undercarriage at rear torsion bar - left side
|
| |
|
 |
|
ndercarriage at rear torsion bar - right side
|
| |
|
 |
|
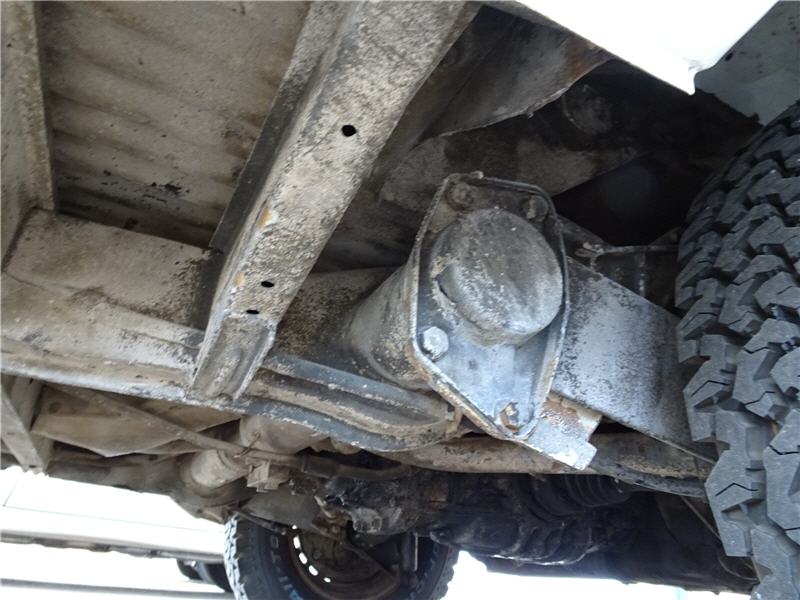
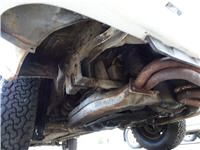
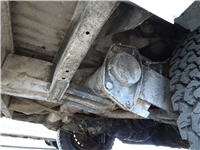
transaxle (fluid level is good)
|
| | OTHER STUFF |
| |
|
 |
|
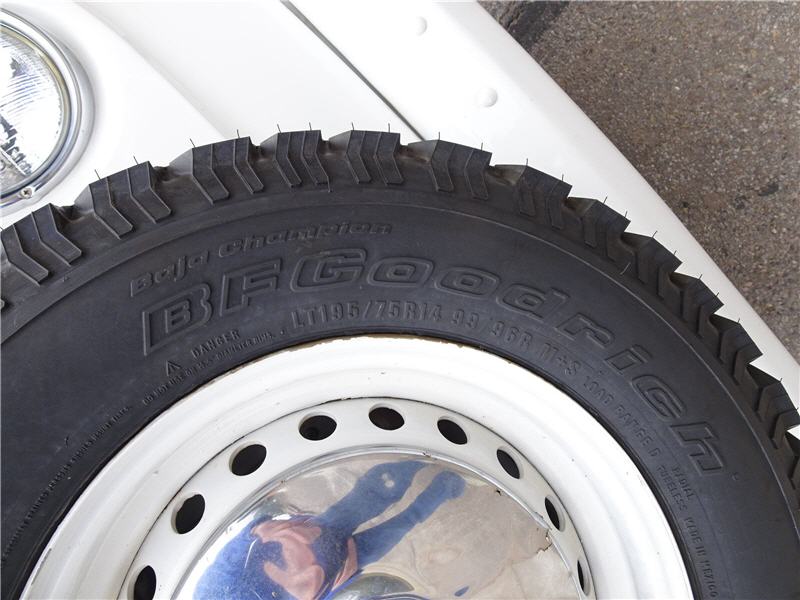
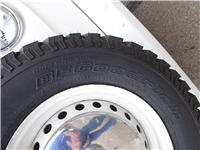
Tires!
|
| |
|
 |
|
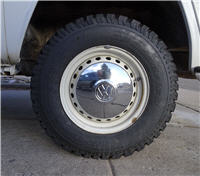
Gotta love these BF Goodrich LT 195/75R14 99/96R M+S Load Range D tires.
If only they made them in the stock diameter of 185, so that the engine
did not have to work harder.
|
| |
|
 |
|
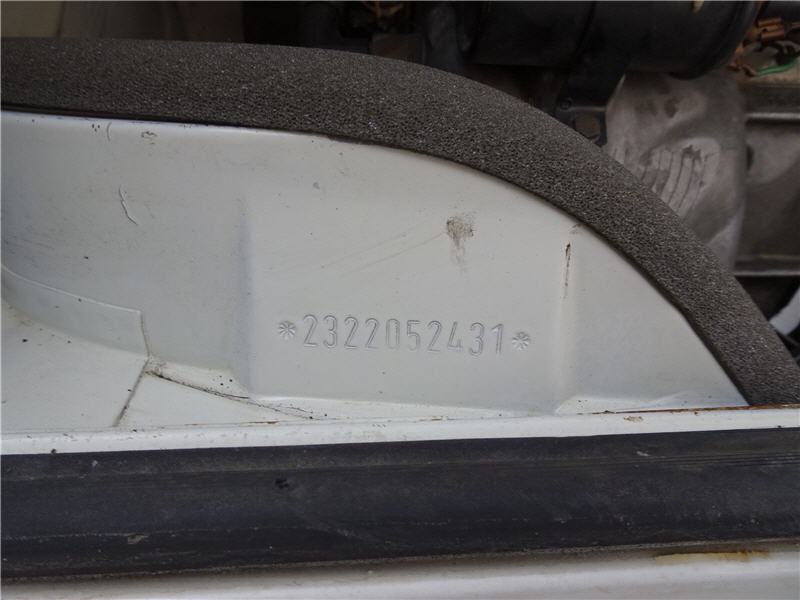
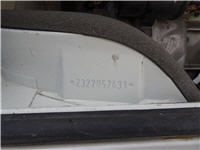
VIN stamp
|
| |
|
 |
|
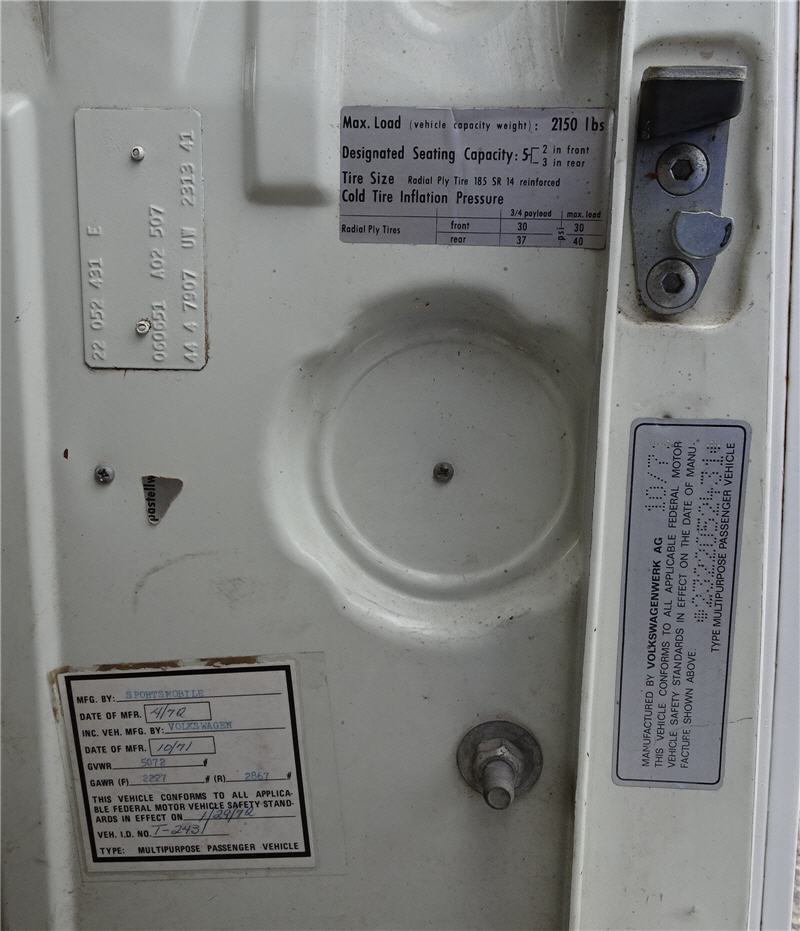
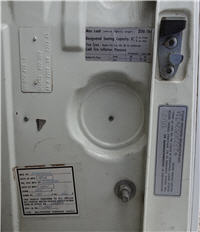
From upper left, clockwise:
M-code plate
load rating and tire pressures
US Federal conformance sticker
Sportsmobile sticker with model and ID
A small shred of the "pastelweiss" paint code sticker.
|
| |
|
 |
|
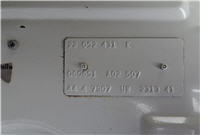
The M-code plate
|
| |
|
 |
|
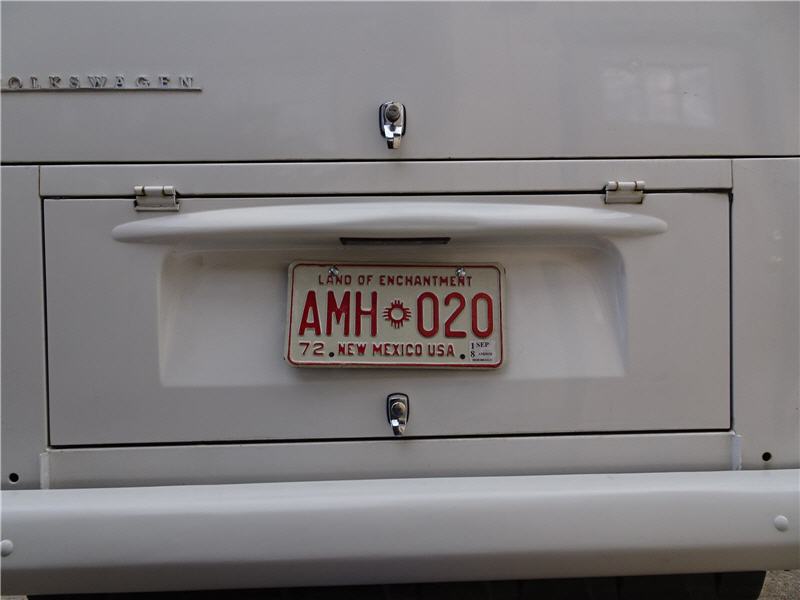
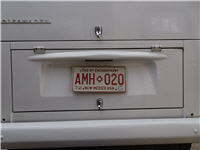
The camper is registered with this New Mexico Year-of-Manufacture plate for 1972.
|
![[Ann the Van]](ann.jpg)
![[1972 Sportsmobile Camper II]](sportsmobile sticker.jpg)